
The Misadventures of Allergy Hat 2
A few weeks ago, I built a top hat that is also an air purifier. Last week, I stated building a second one. I wanted to improve on the design, and take photos of the process to show to the rest of you.
I was hoping for this to be a triumphant post about how I built a great hat, but, well… you'll see.
Materials
![[Photo: a pile of various materials, described below.]](/_resources/media/allergy-hat-2/materials-all.Tm5_5ObLV_oGNYG.jpg)
- A bunch of scrap cardboard.
- Cloth with a flowery pattern, to cover the finished hat.
- A bit of an old sleeping pad.
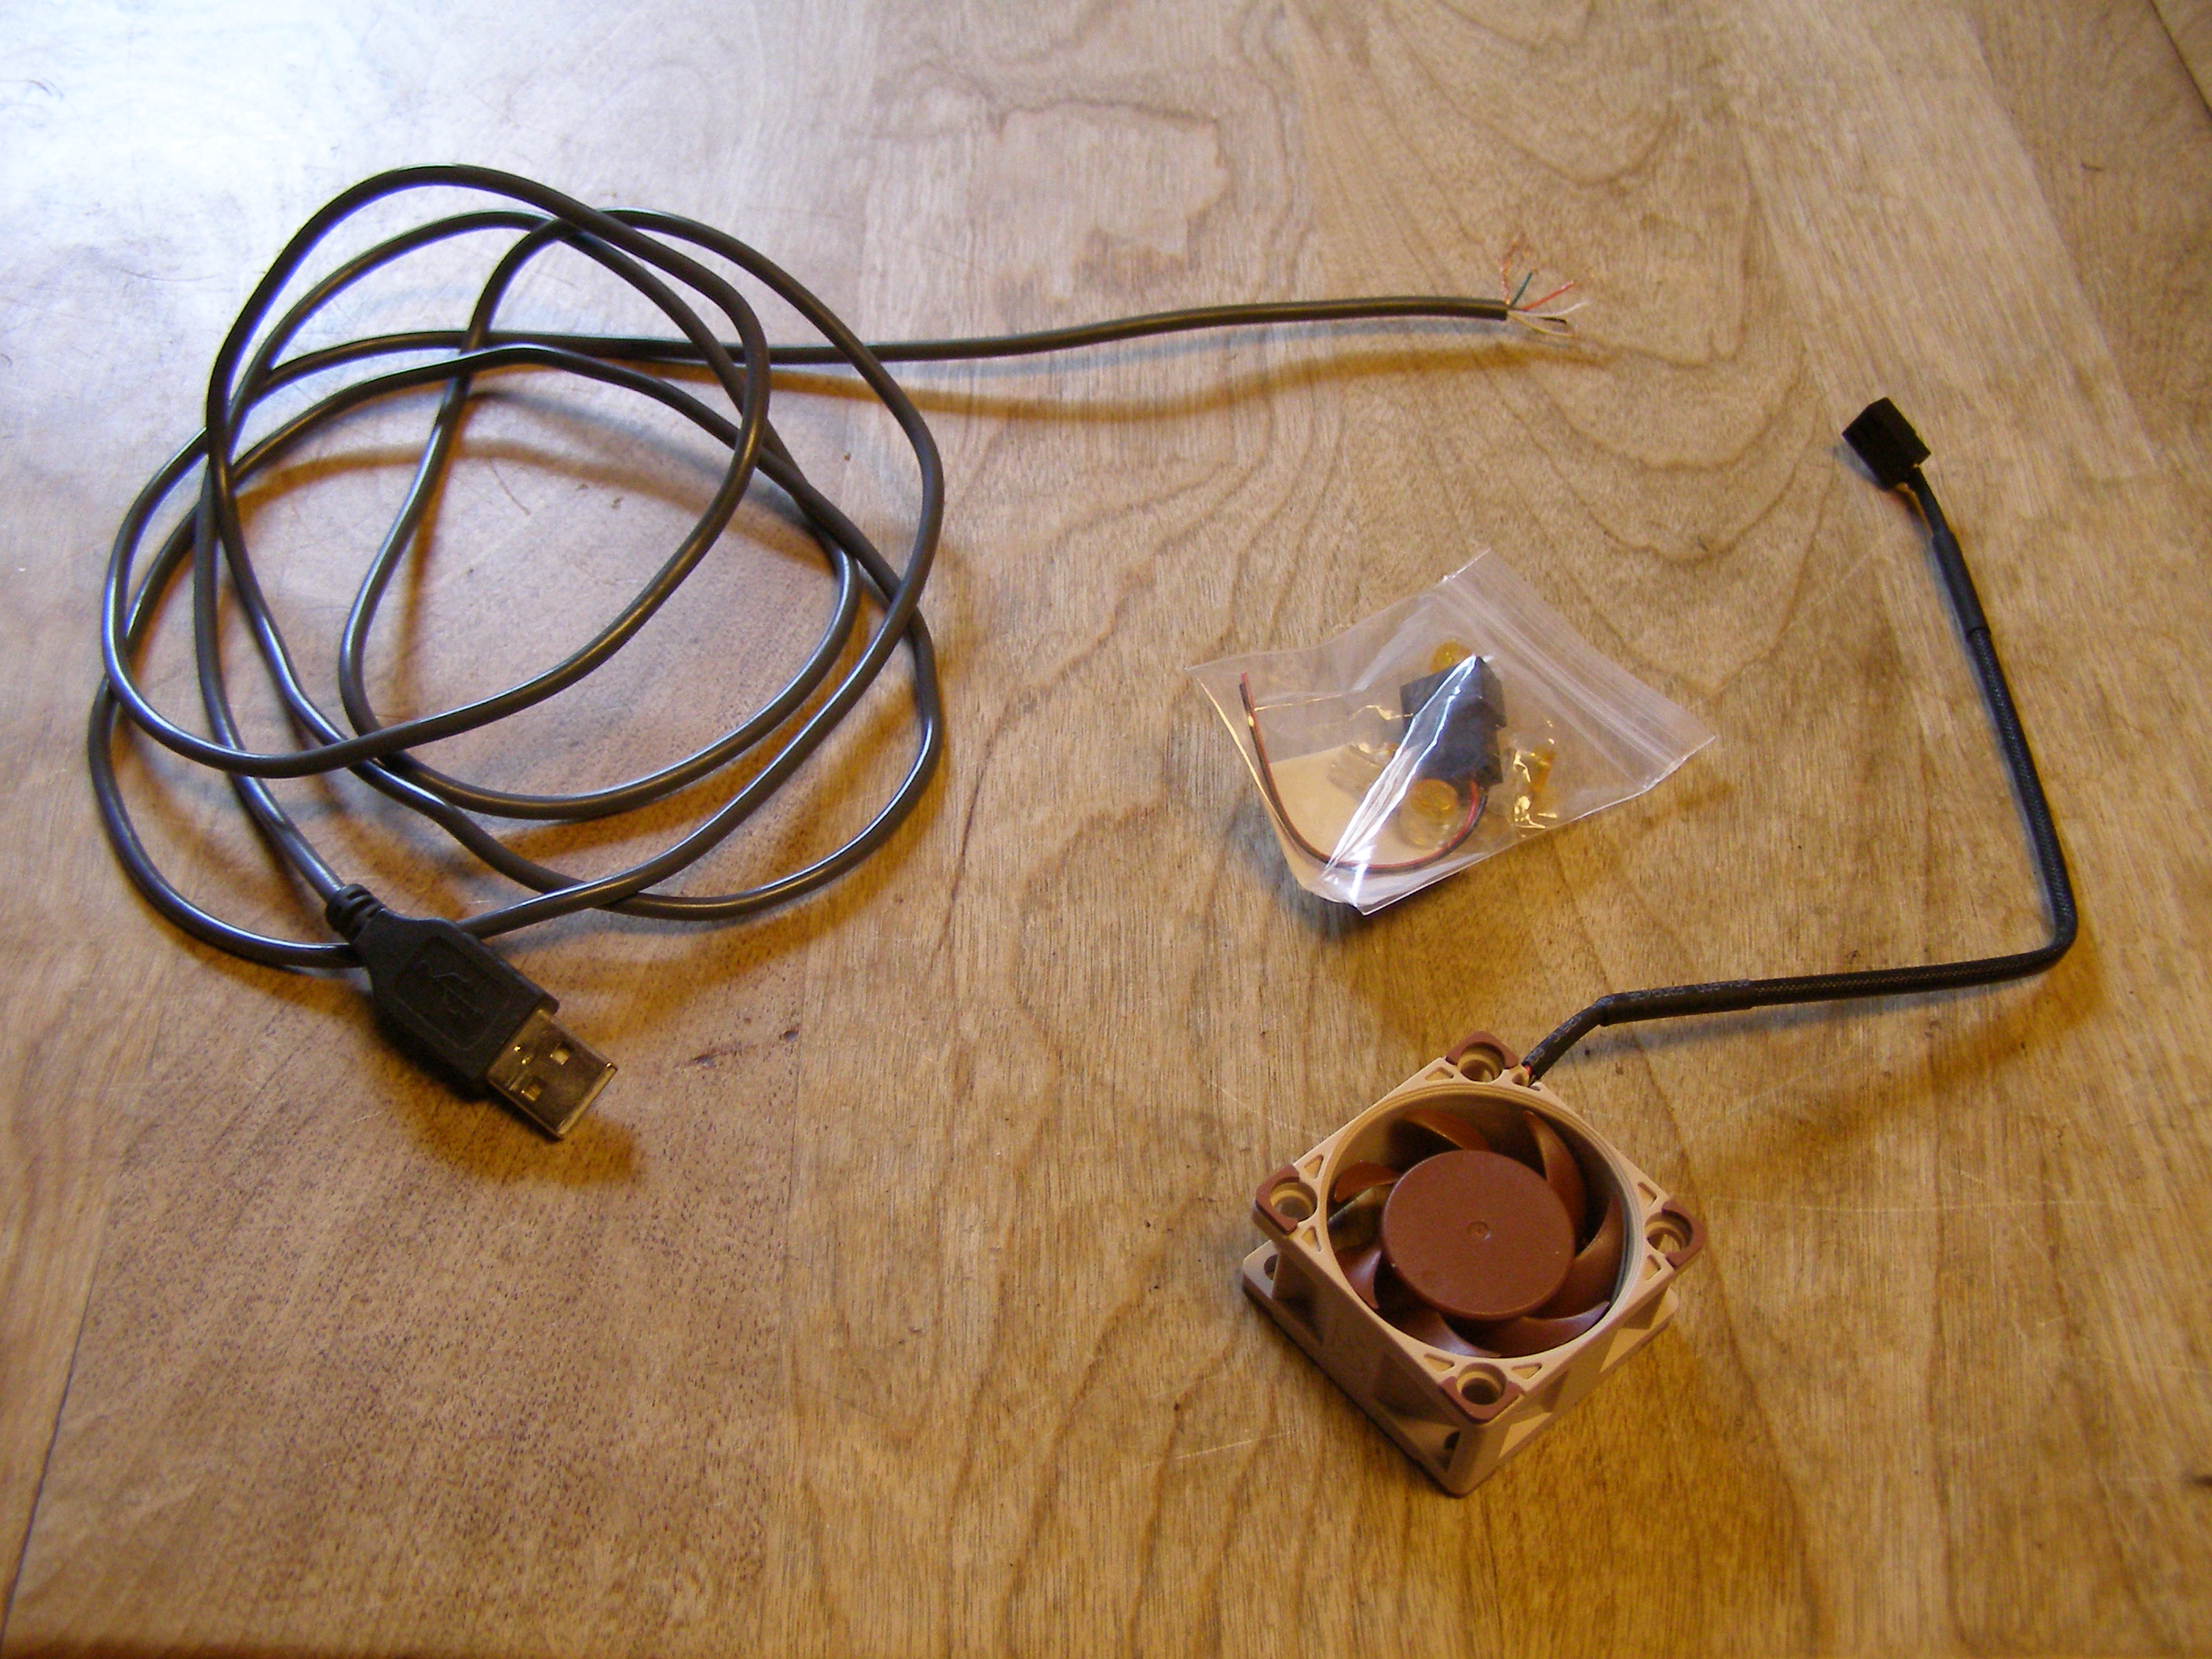
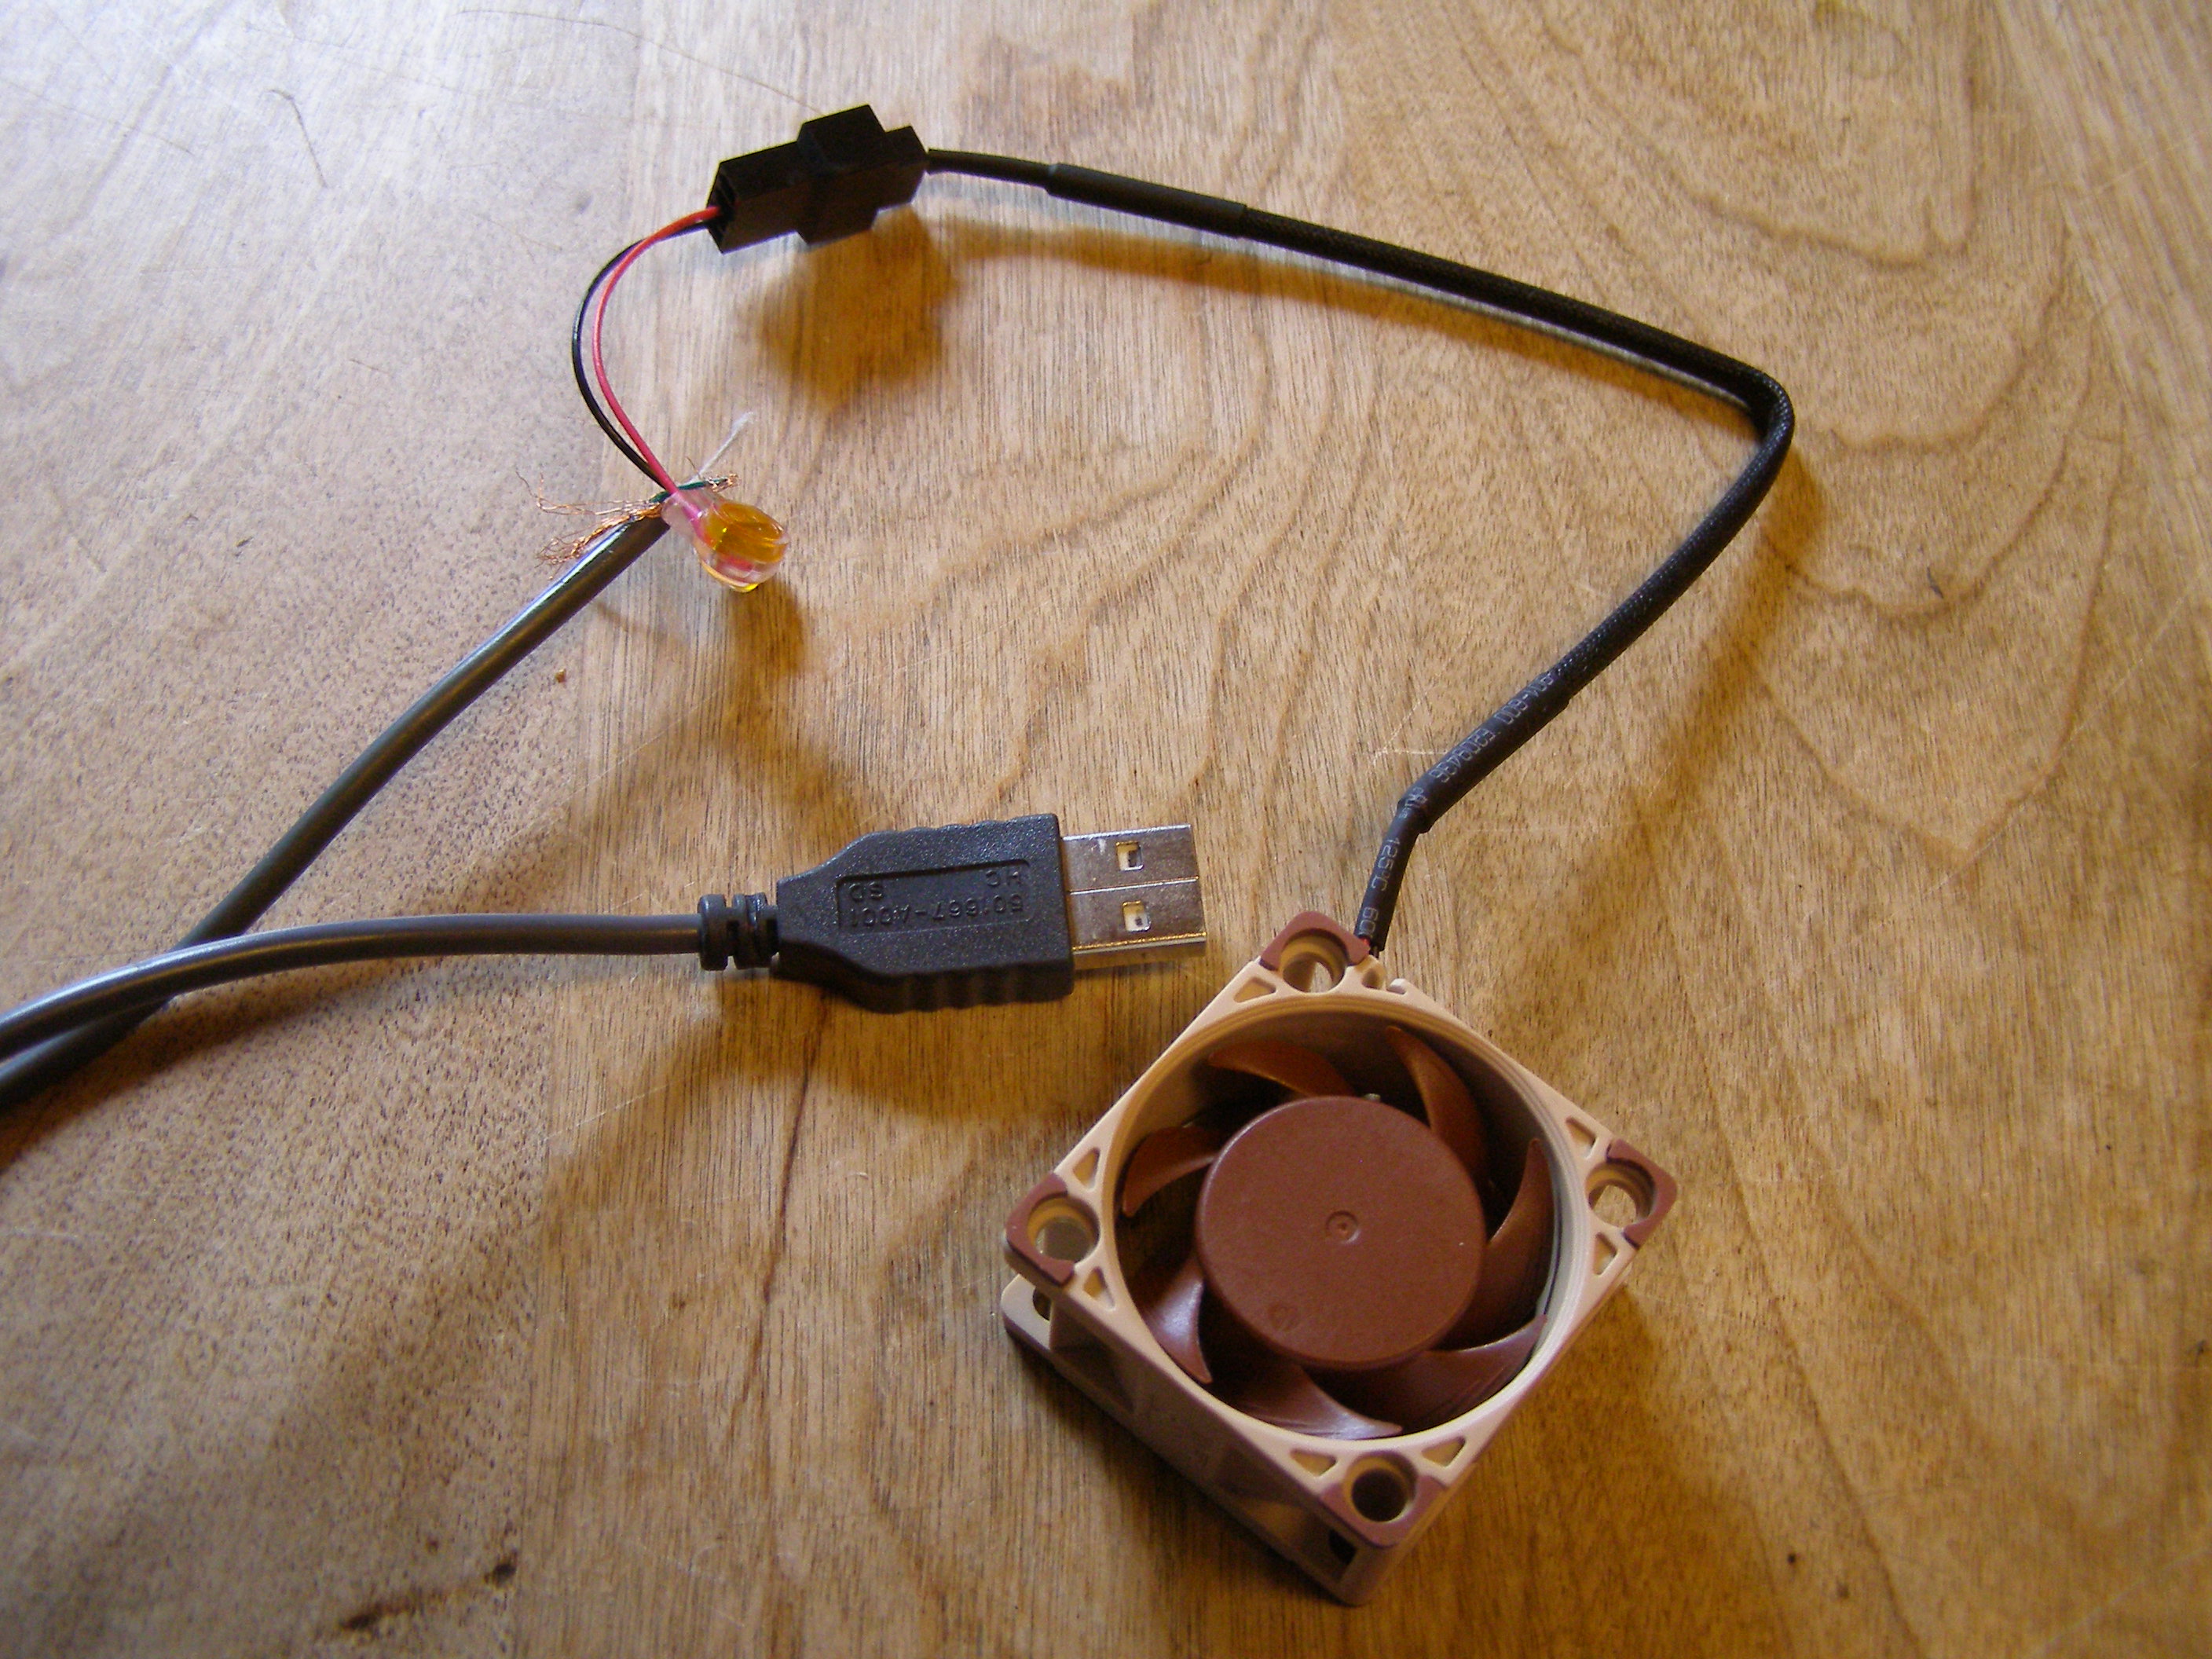
- A USB cord with one end missing.
- A 5V 40mm static pressure fan (NF-A4x20 5V).
- A 6"x4" HEPA filter.
- A box of cut-to-fit pre-filter, which I cut to the same size as the HEPA filter.
- Some thin nonporous foam, for making things airtight.
- Some white glue.
- Some clear packing tape.
Out of these materials, my only significant costs were for the fan (about $16) and the HEPA filter (about $4). I got the rest by taking bits of old things we had in storage. If you didn't have any of the materials to start out with, it would have a much bigger up-front cost.
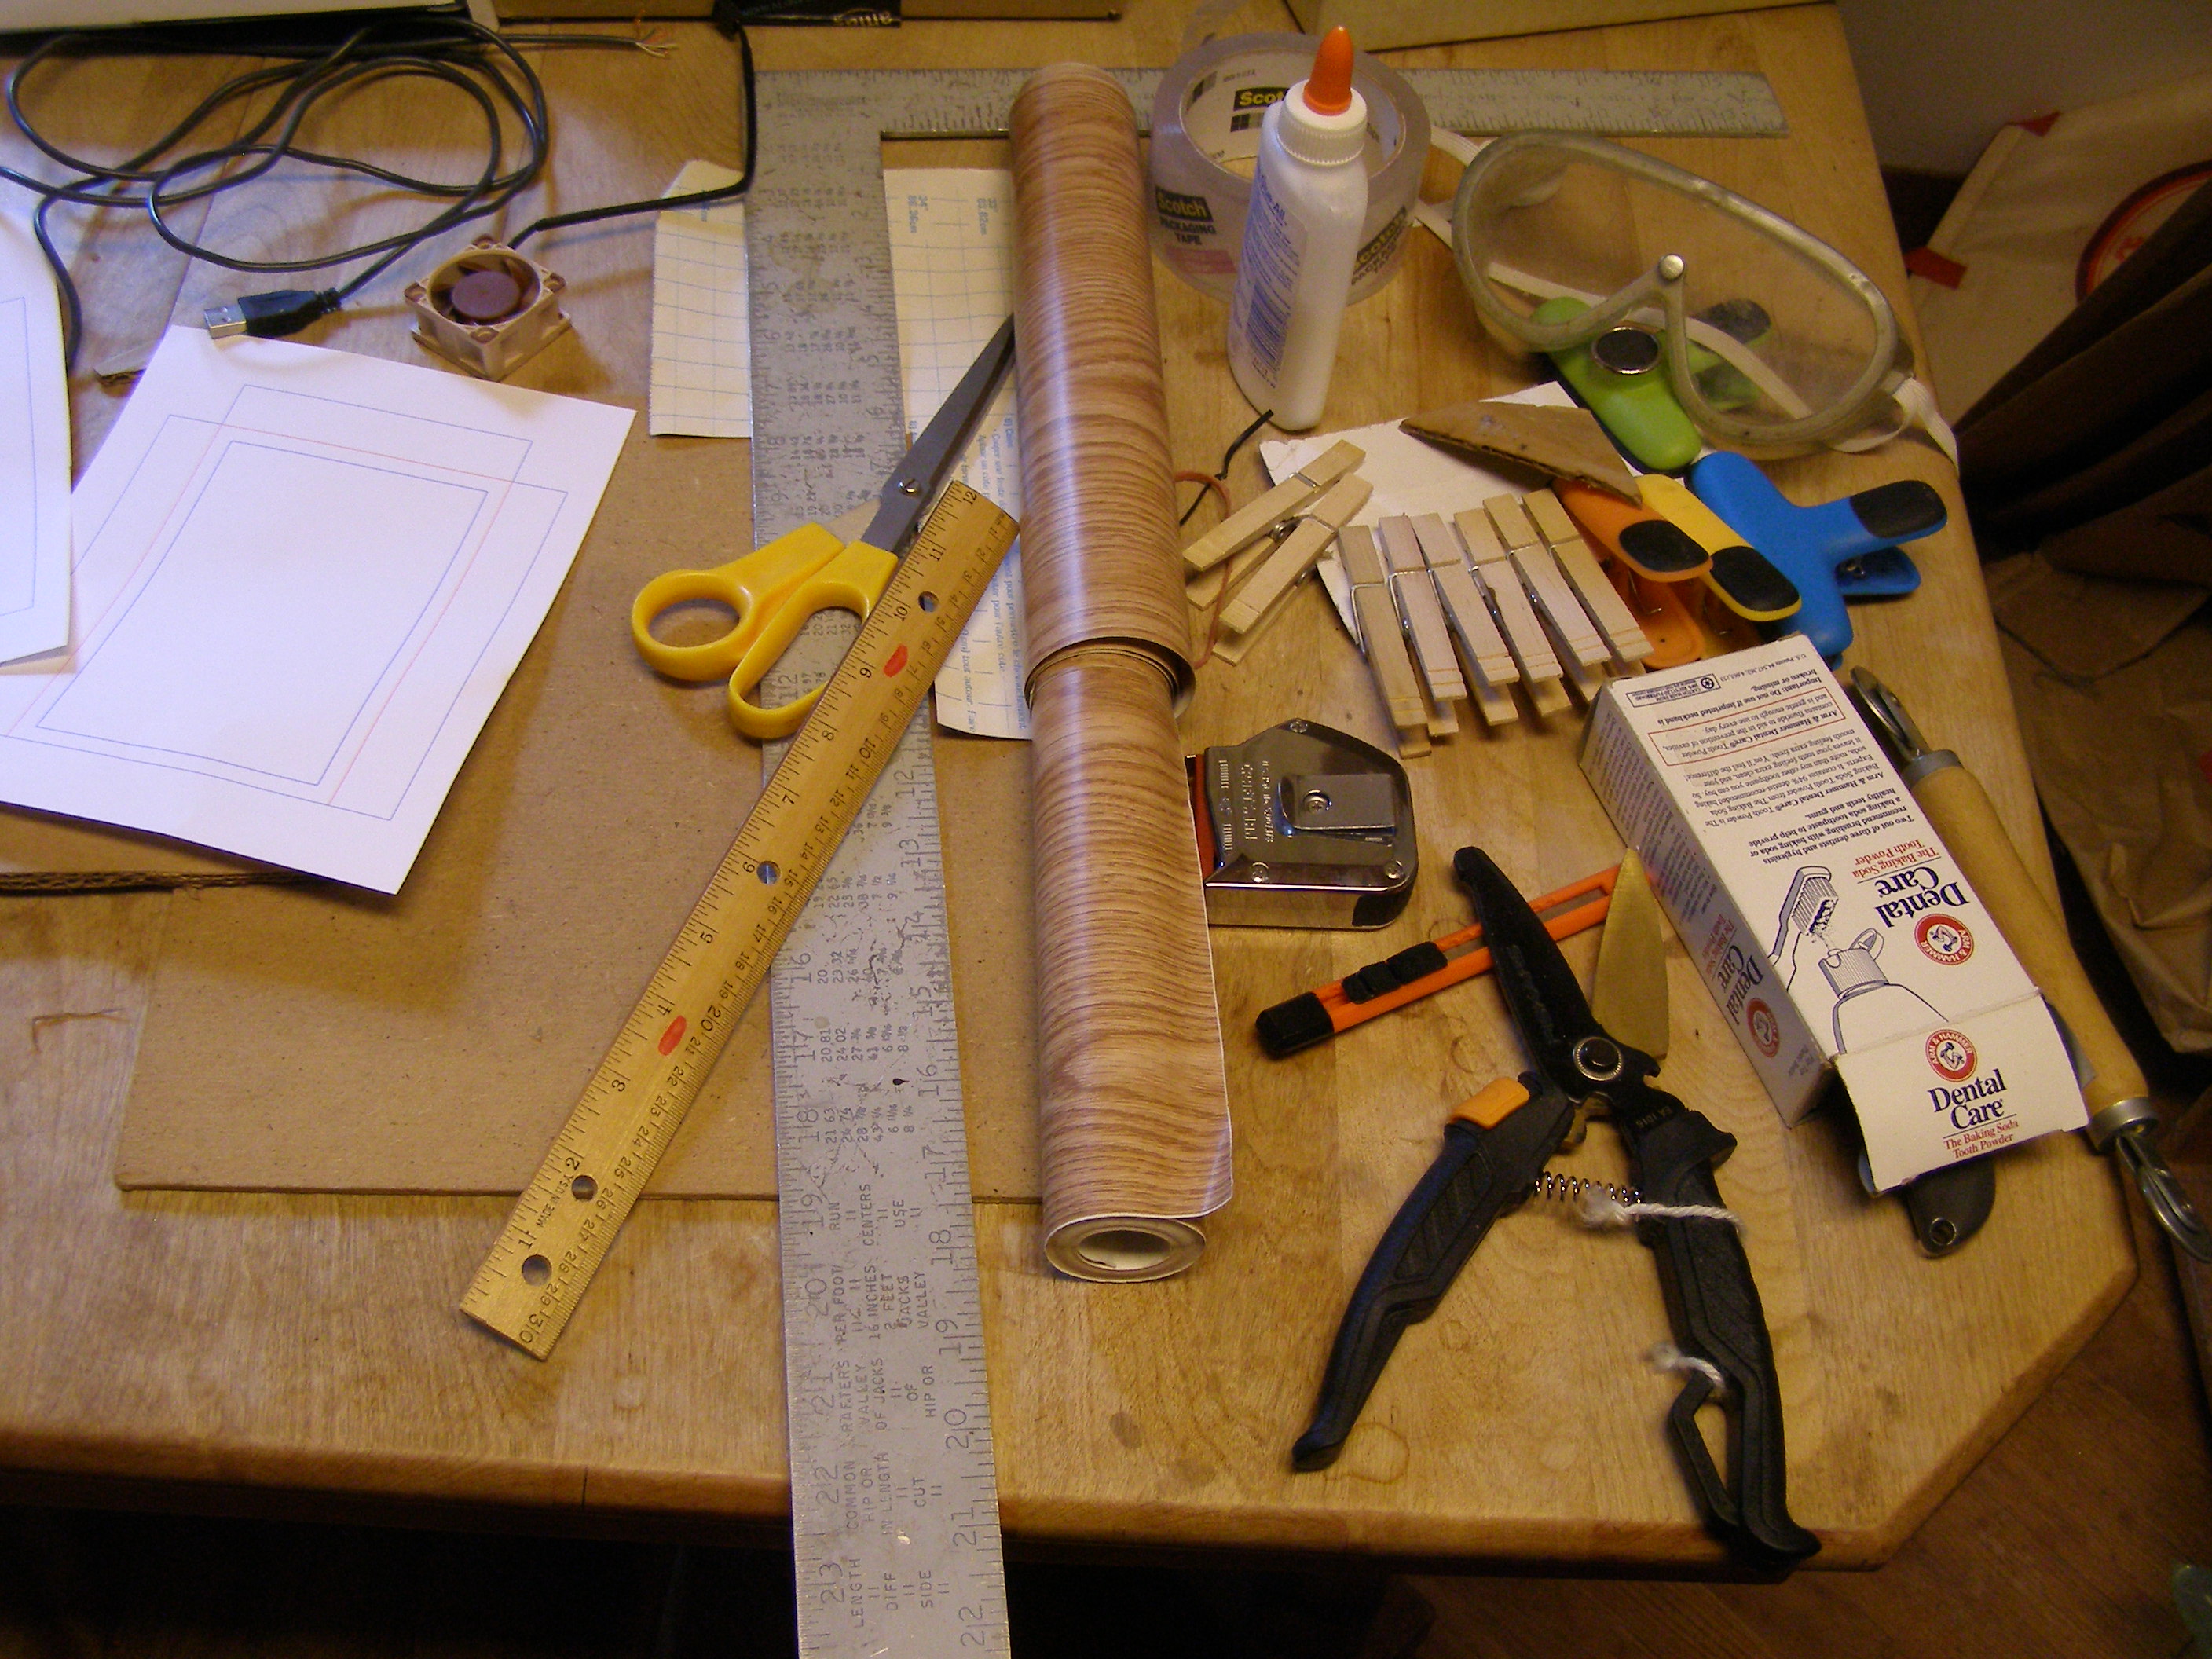
I also used a lot of tools – scissors, rulers, clothespins, utility knives, and more.
Building process
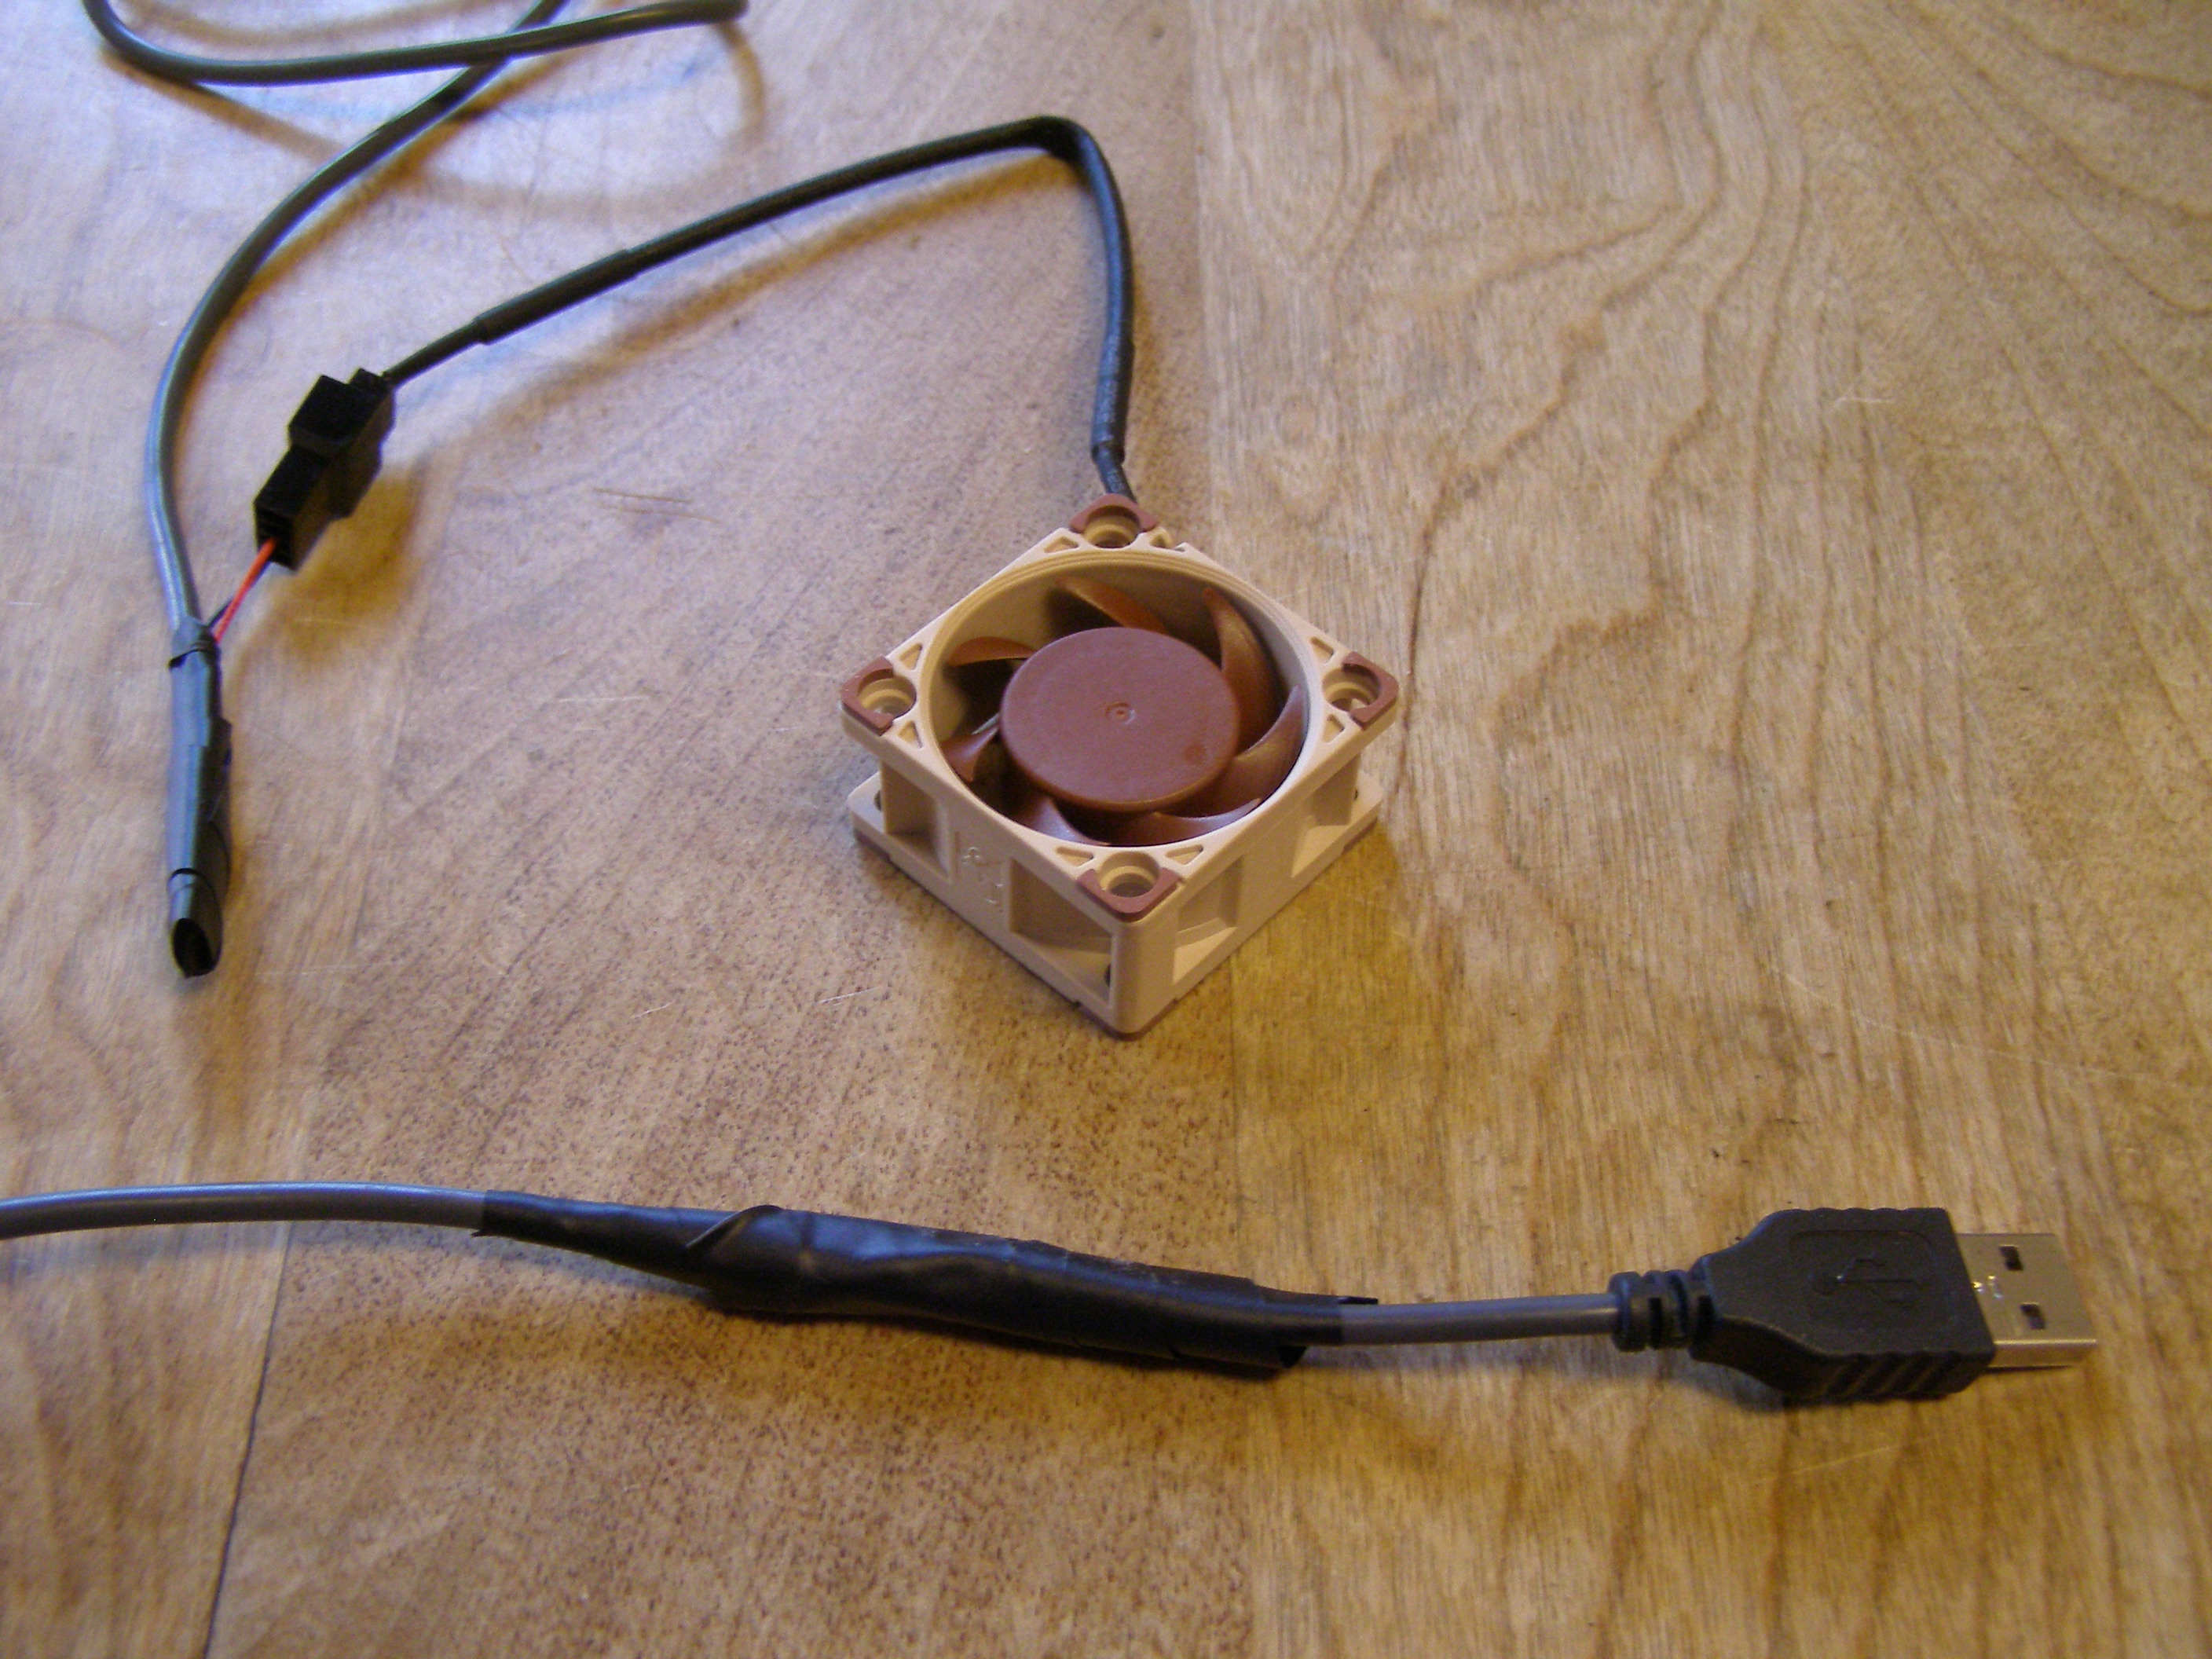
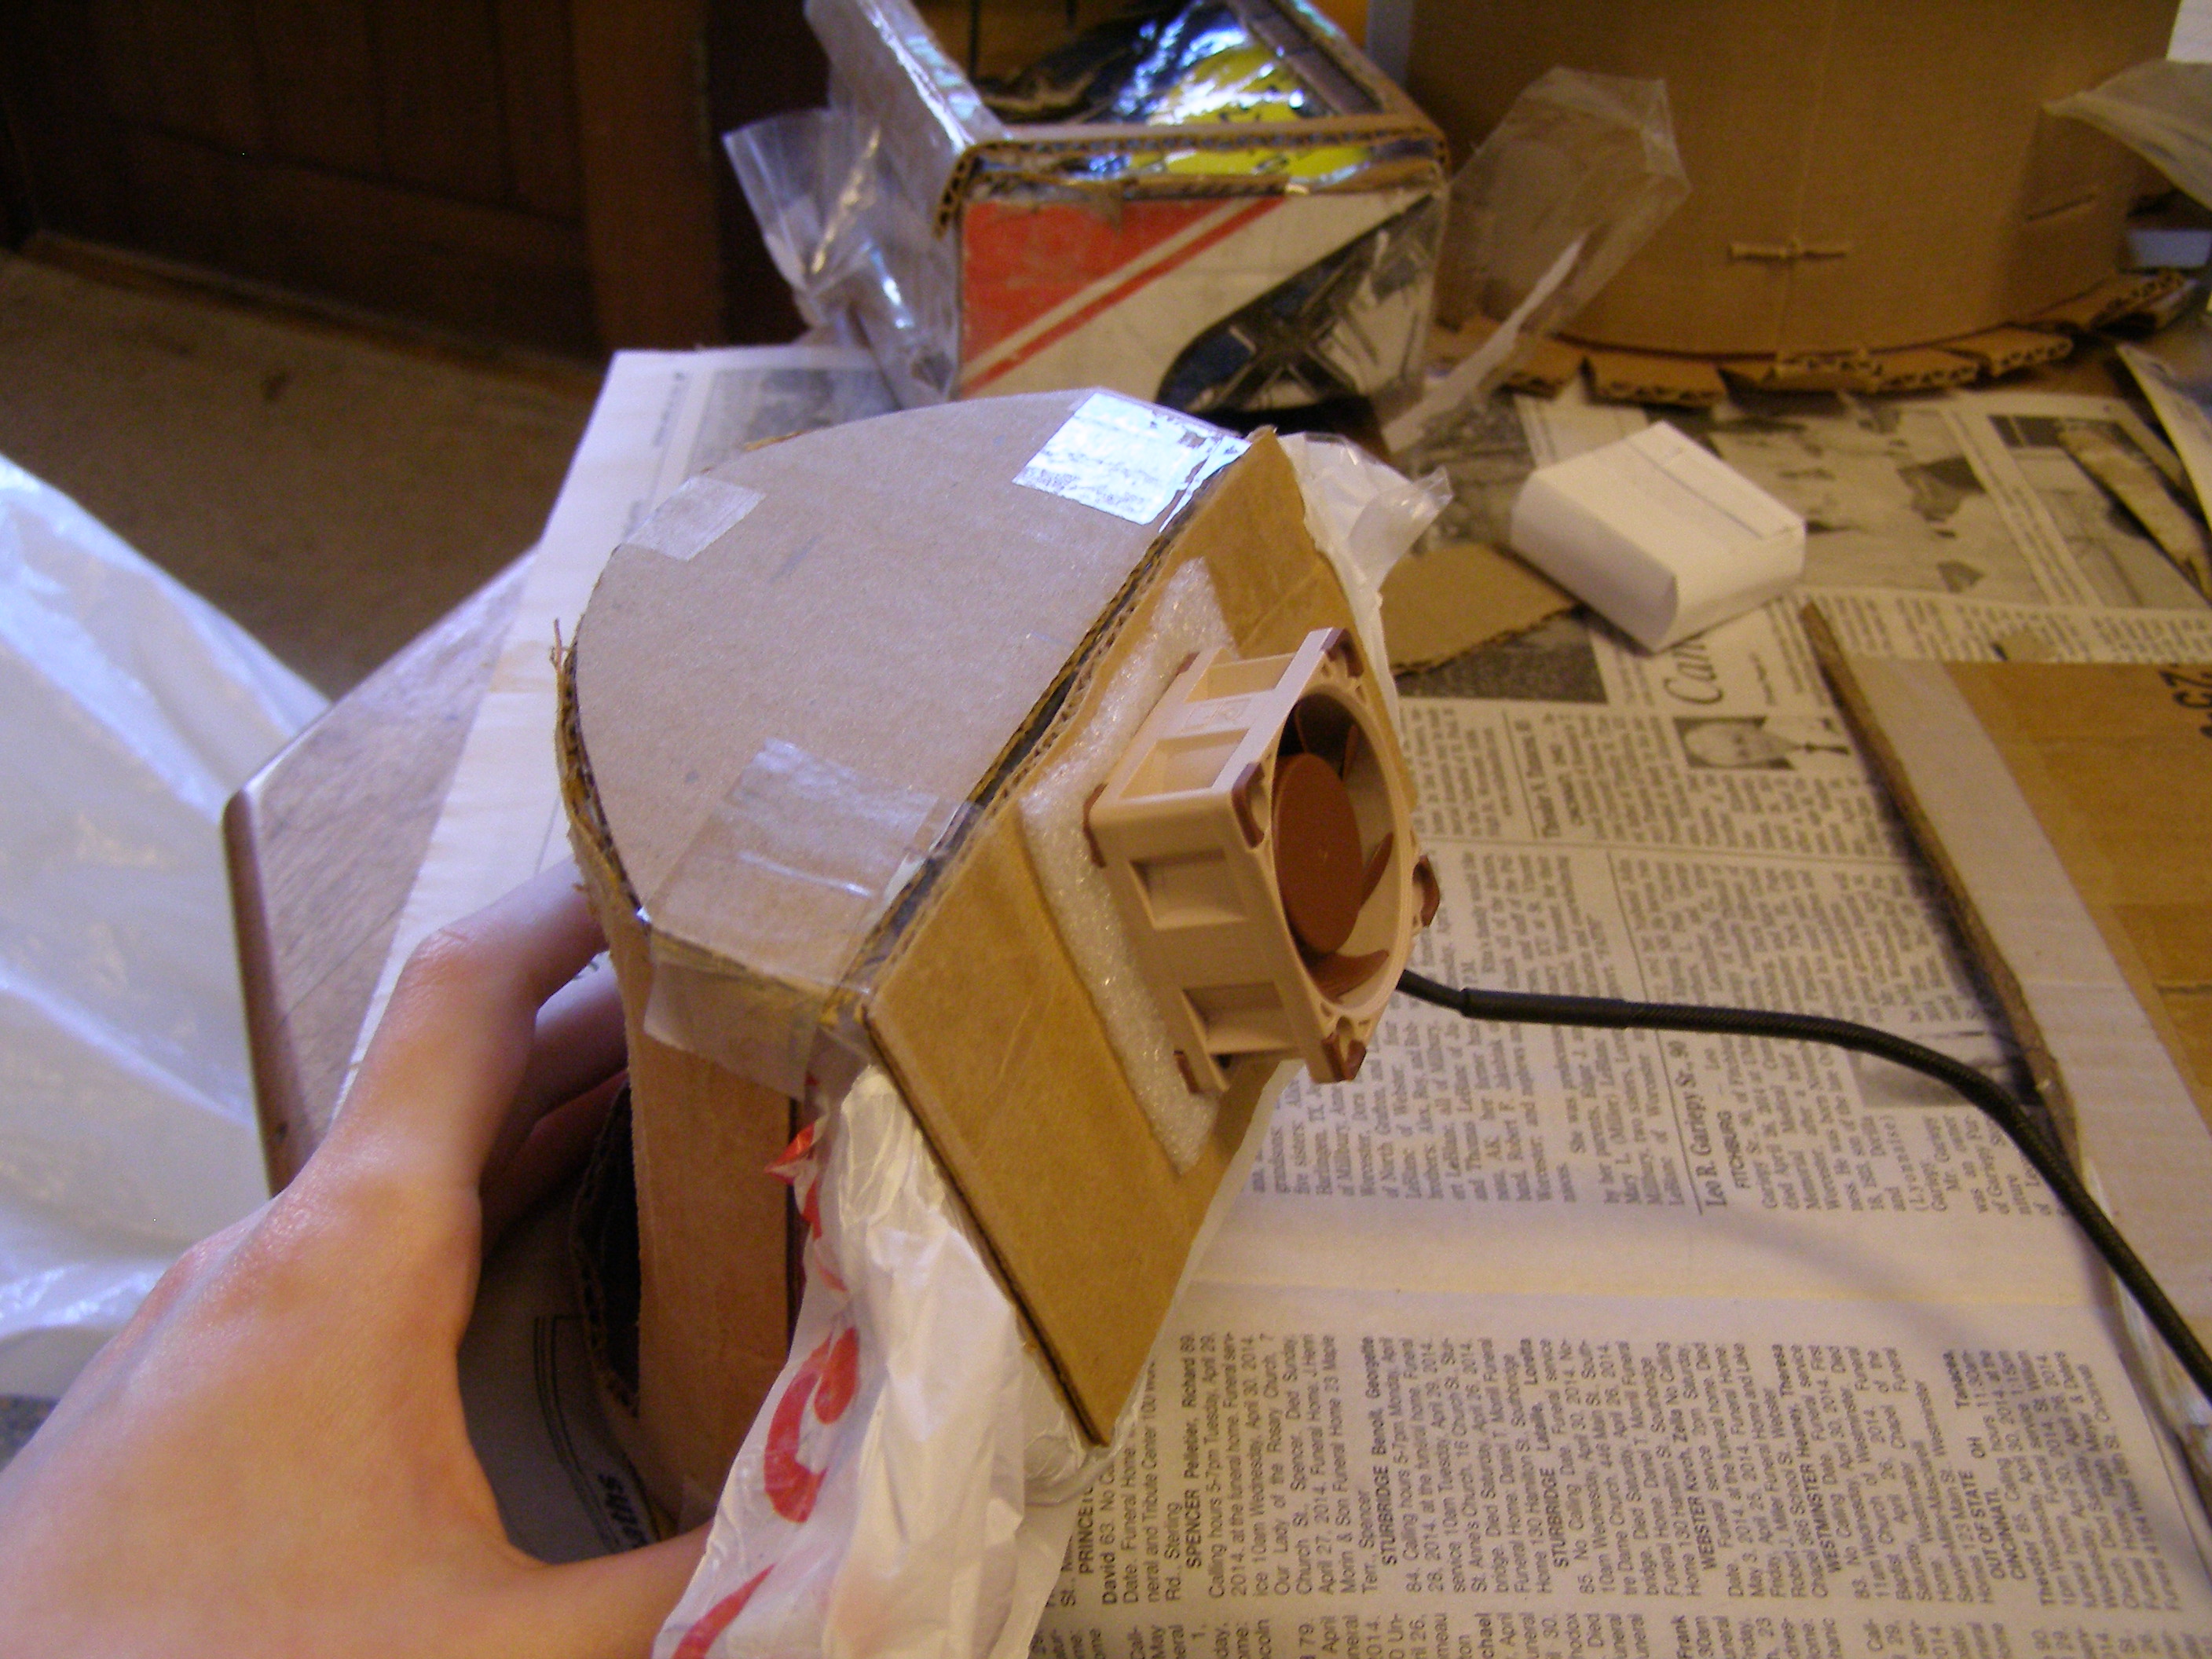
First, I turned the 3-pin fan into a USB fan. Standard USB connectors output 5-volt power, and can supply up to 0.1 amps without any fancy electrics. This particular fan is specced to run on exactly 5V/0.1A, so turning it into a USB fan was just a matter of connecting the wires. And the fan came with small crimp connectors that were very convenient to use.
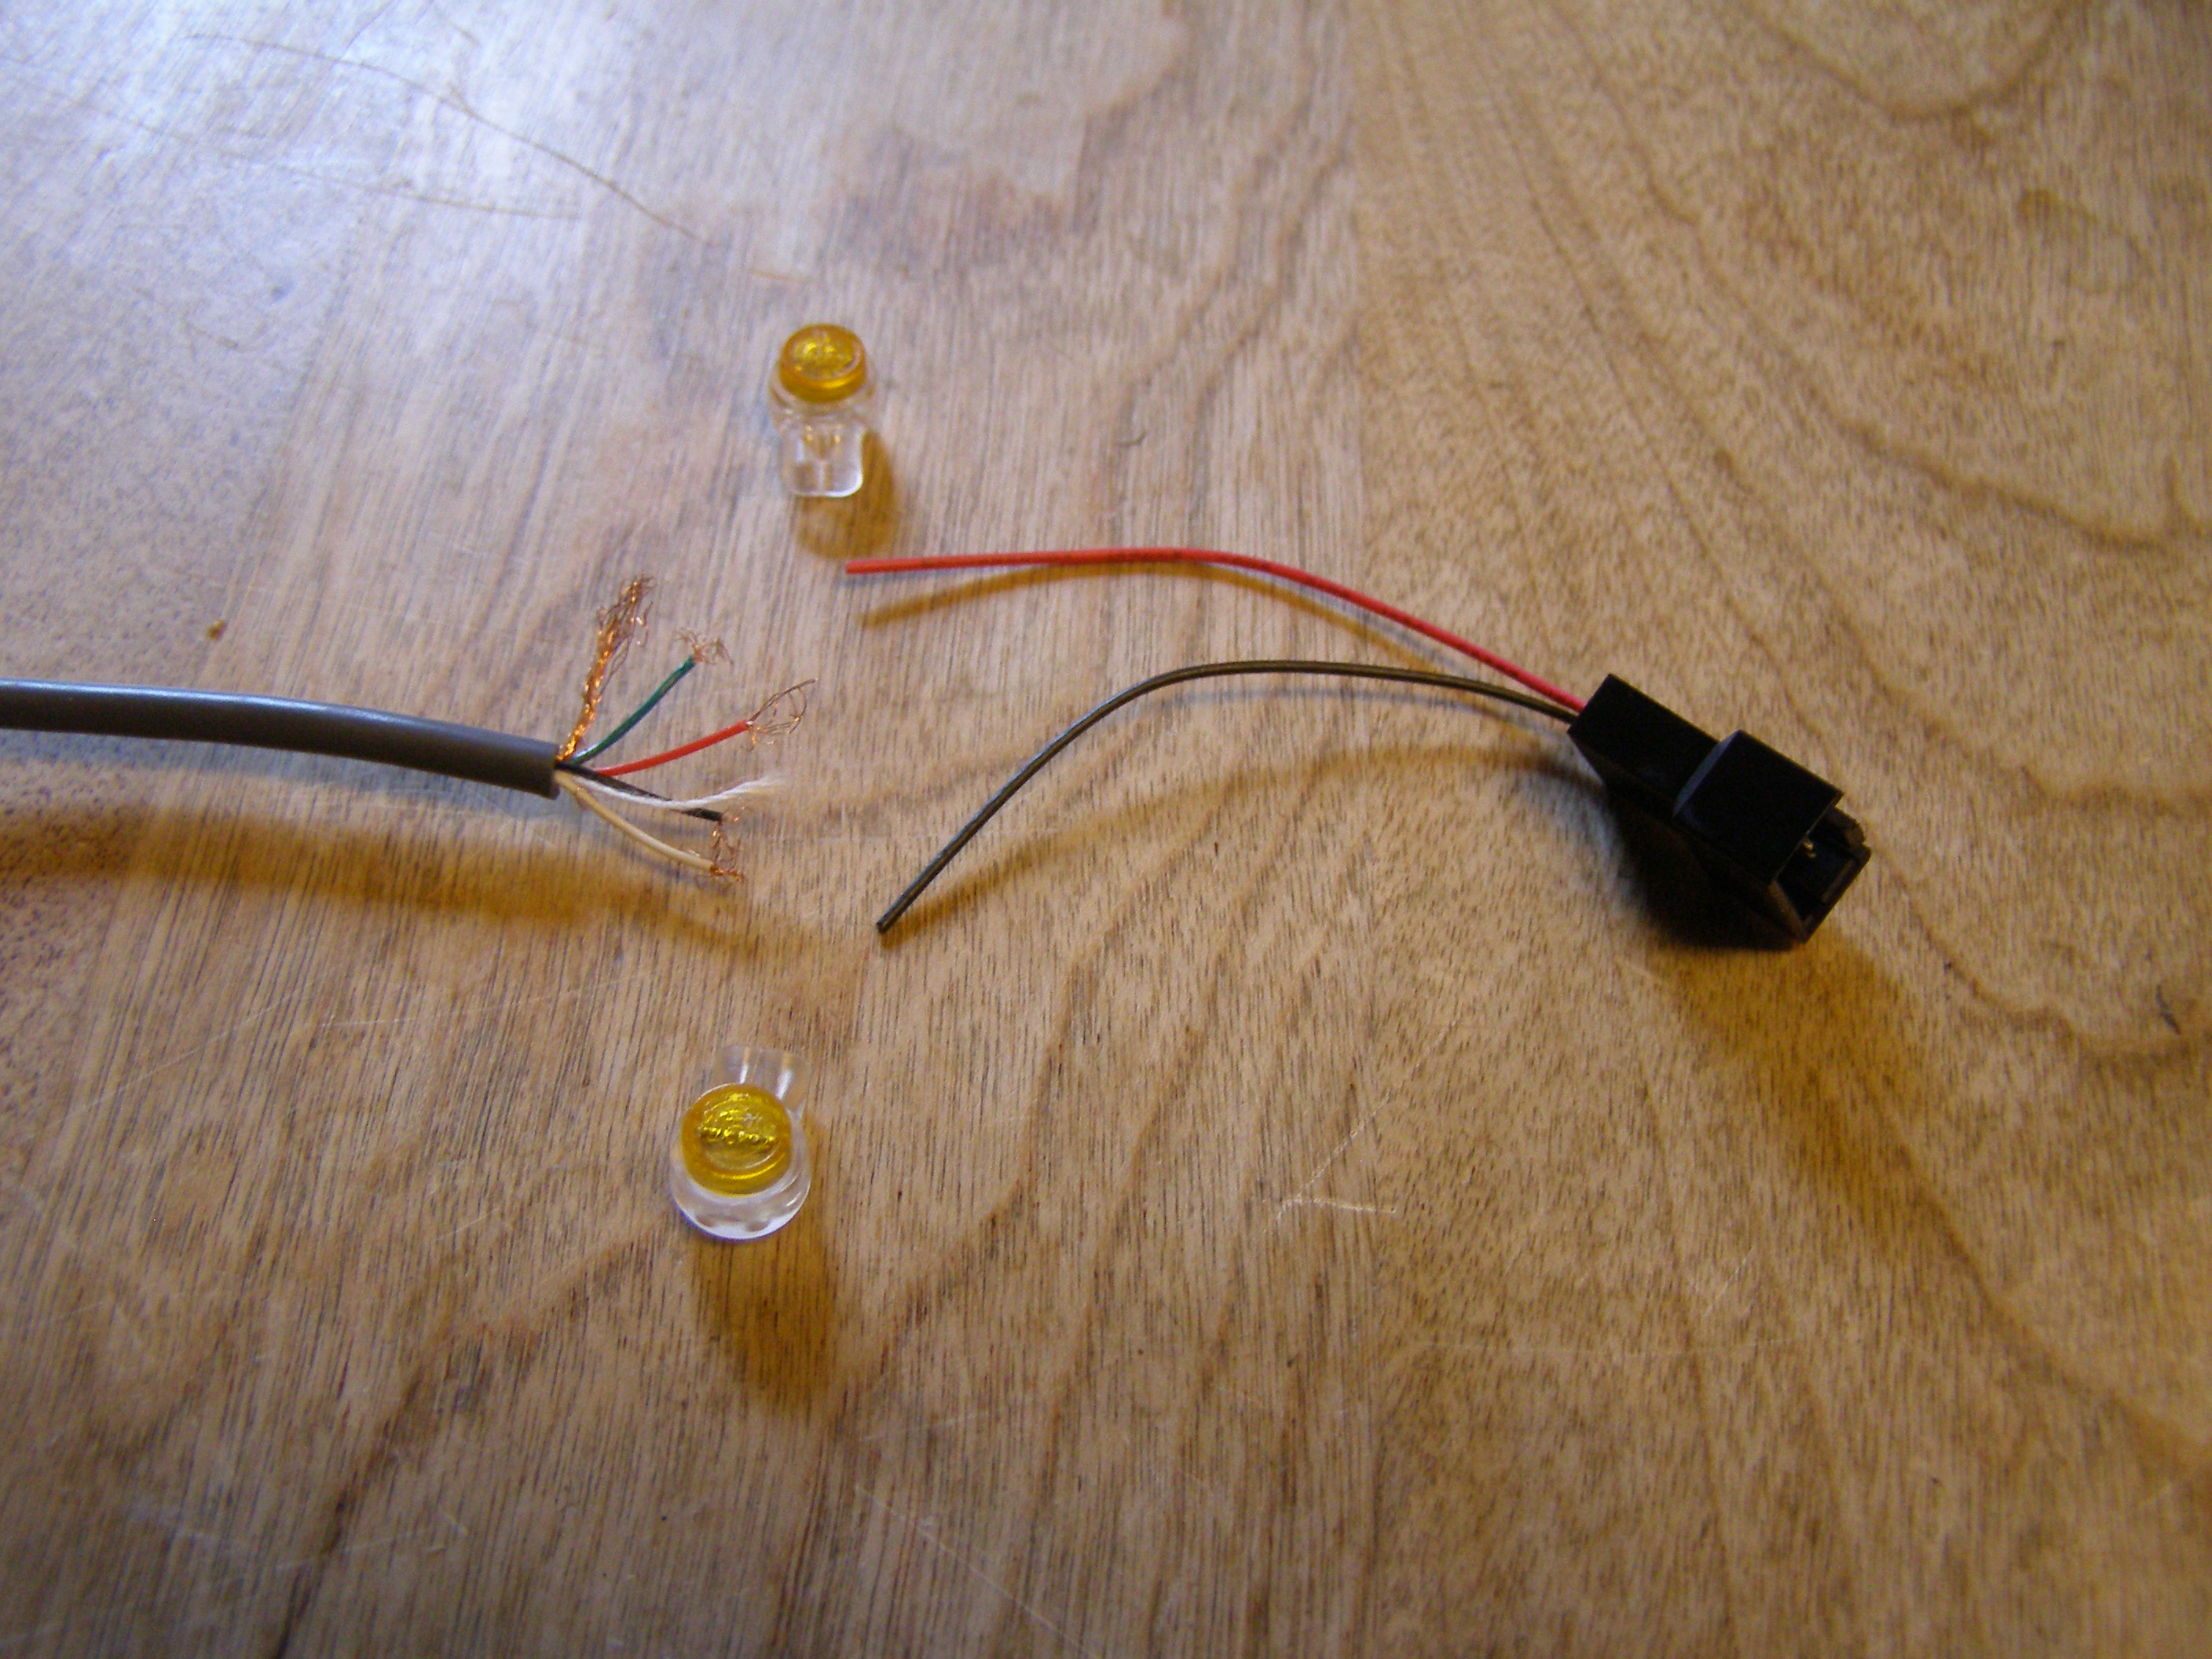
Oops! The old USB cord I was using actually didn't work. I had to take it apart and rewire it. But I eventually did get it to run off an actual USB port.
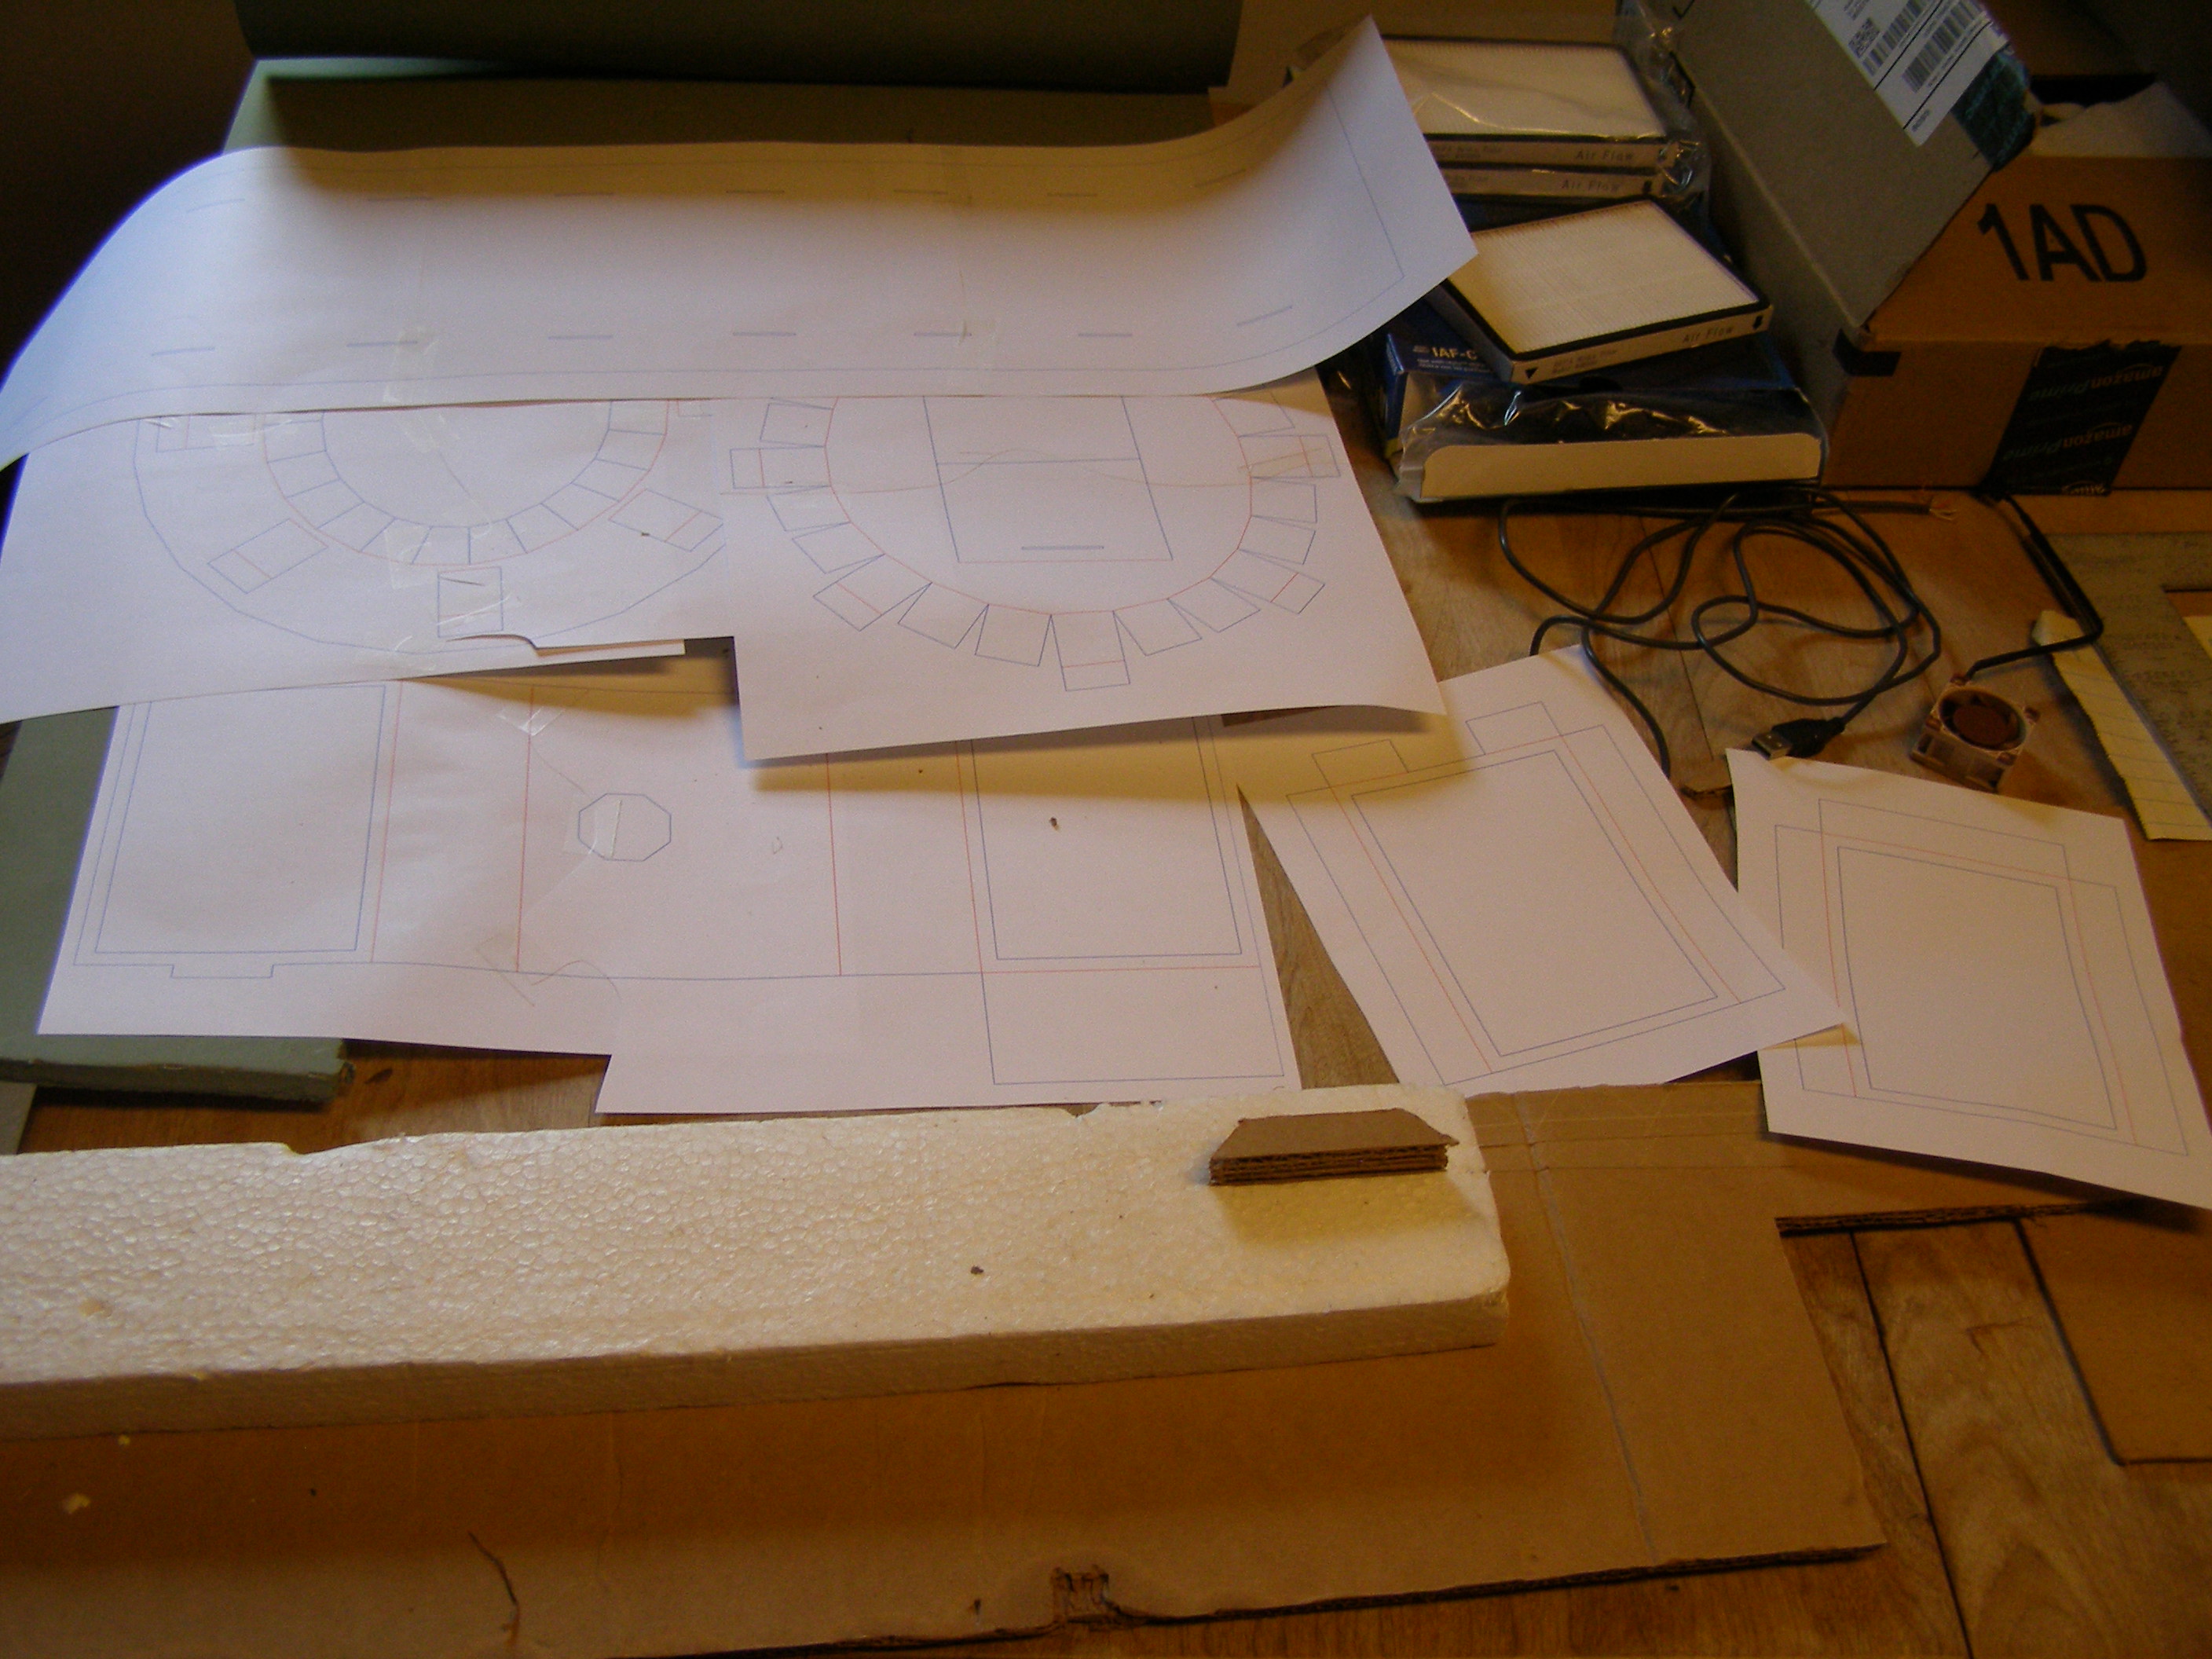
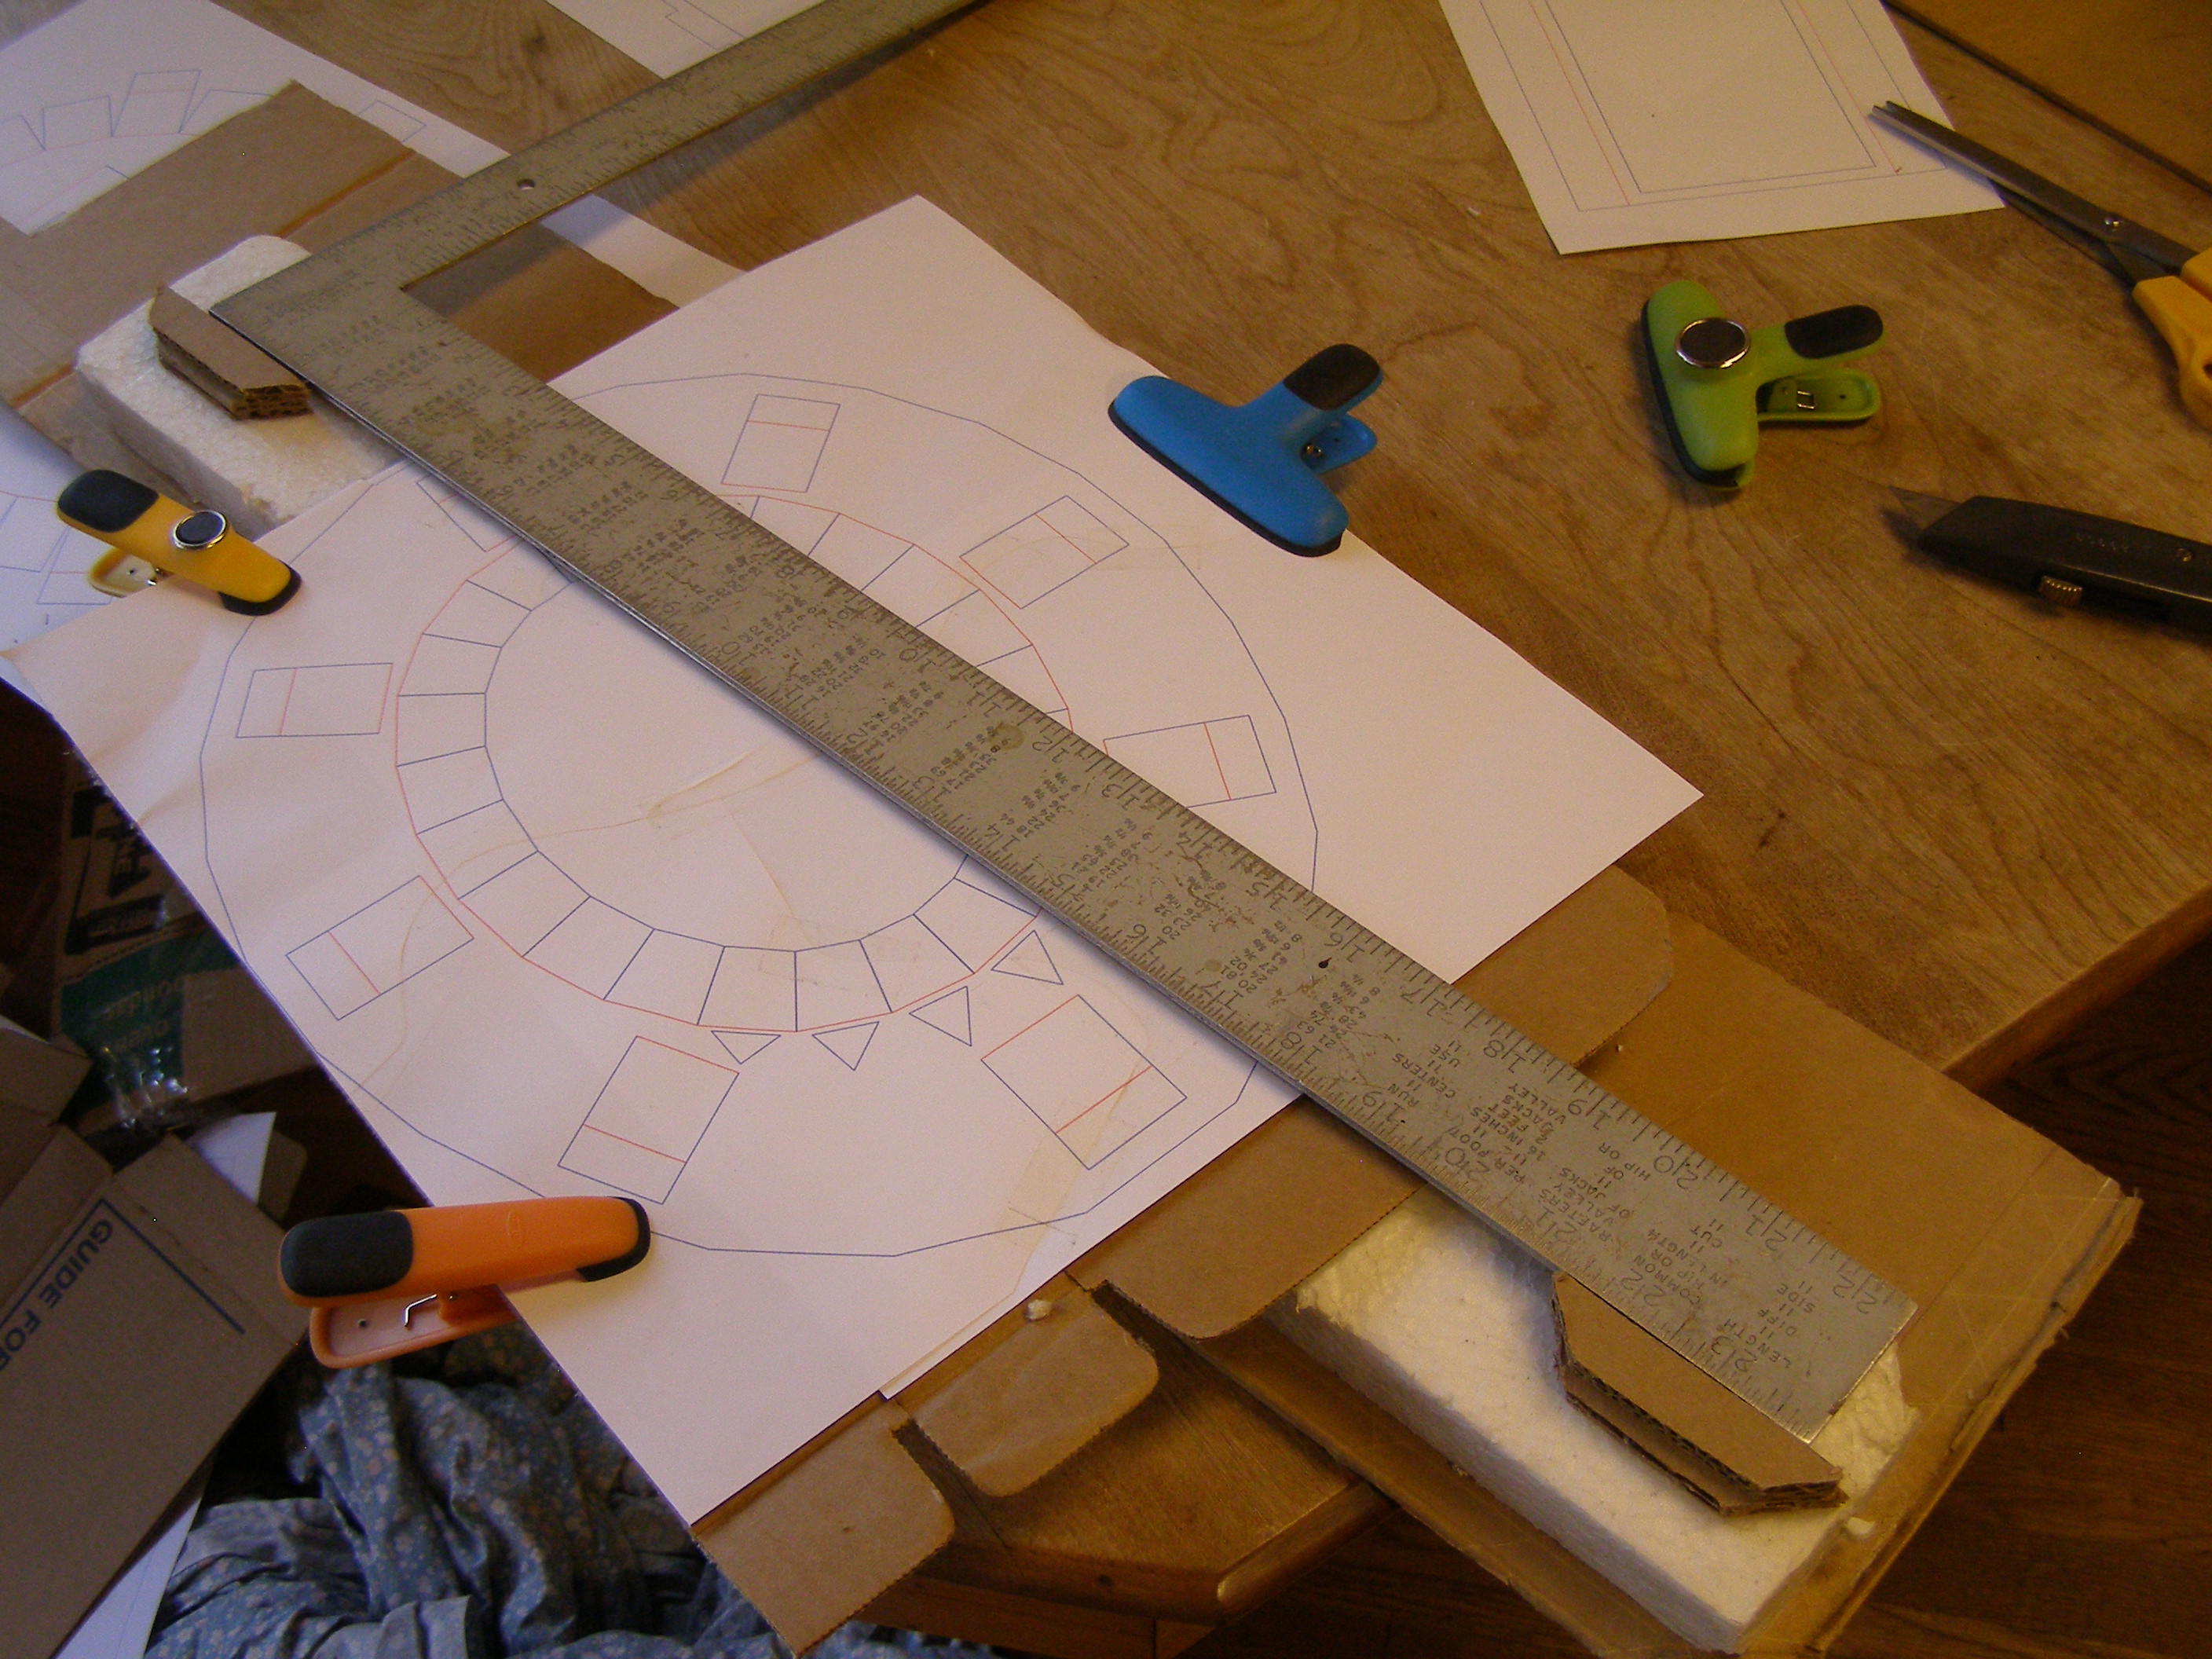
For the next step, I had to cut out all of the cardboard pieces. I printed out paper templates for all the pieces, and attached them to the cardboard so that I could cut them precisely.
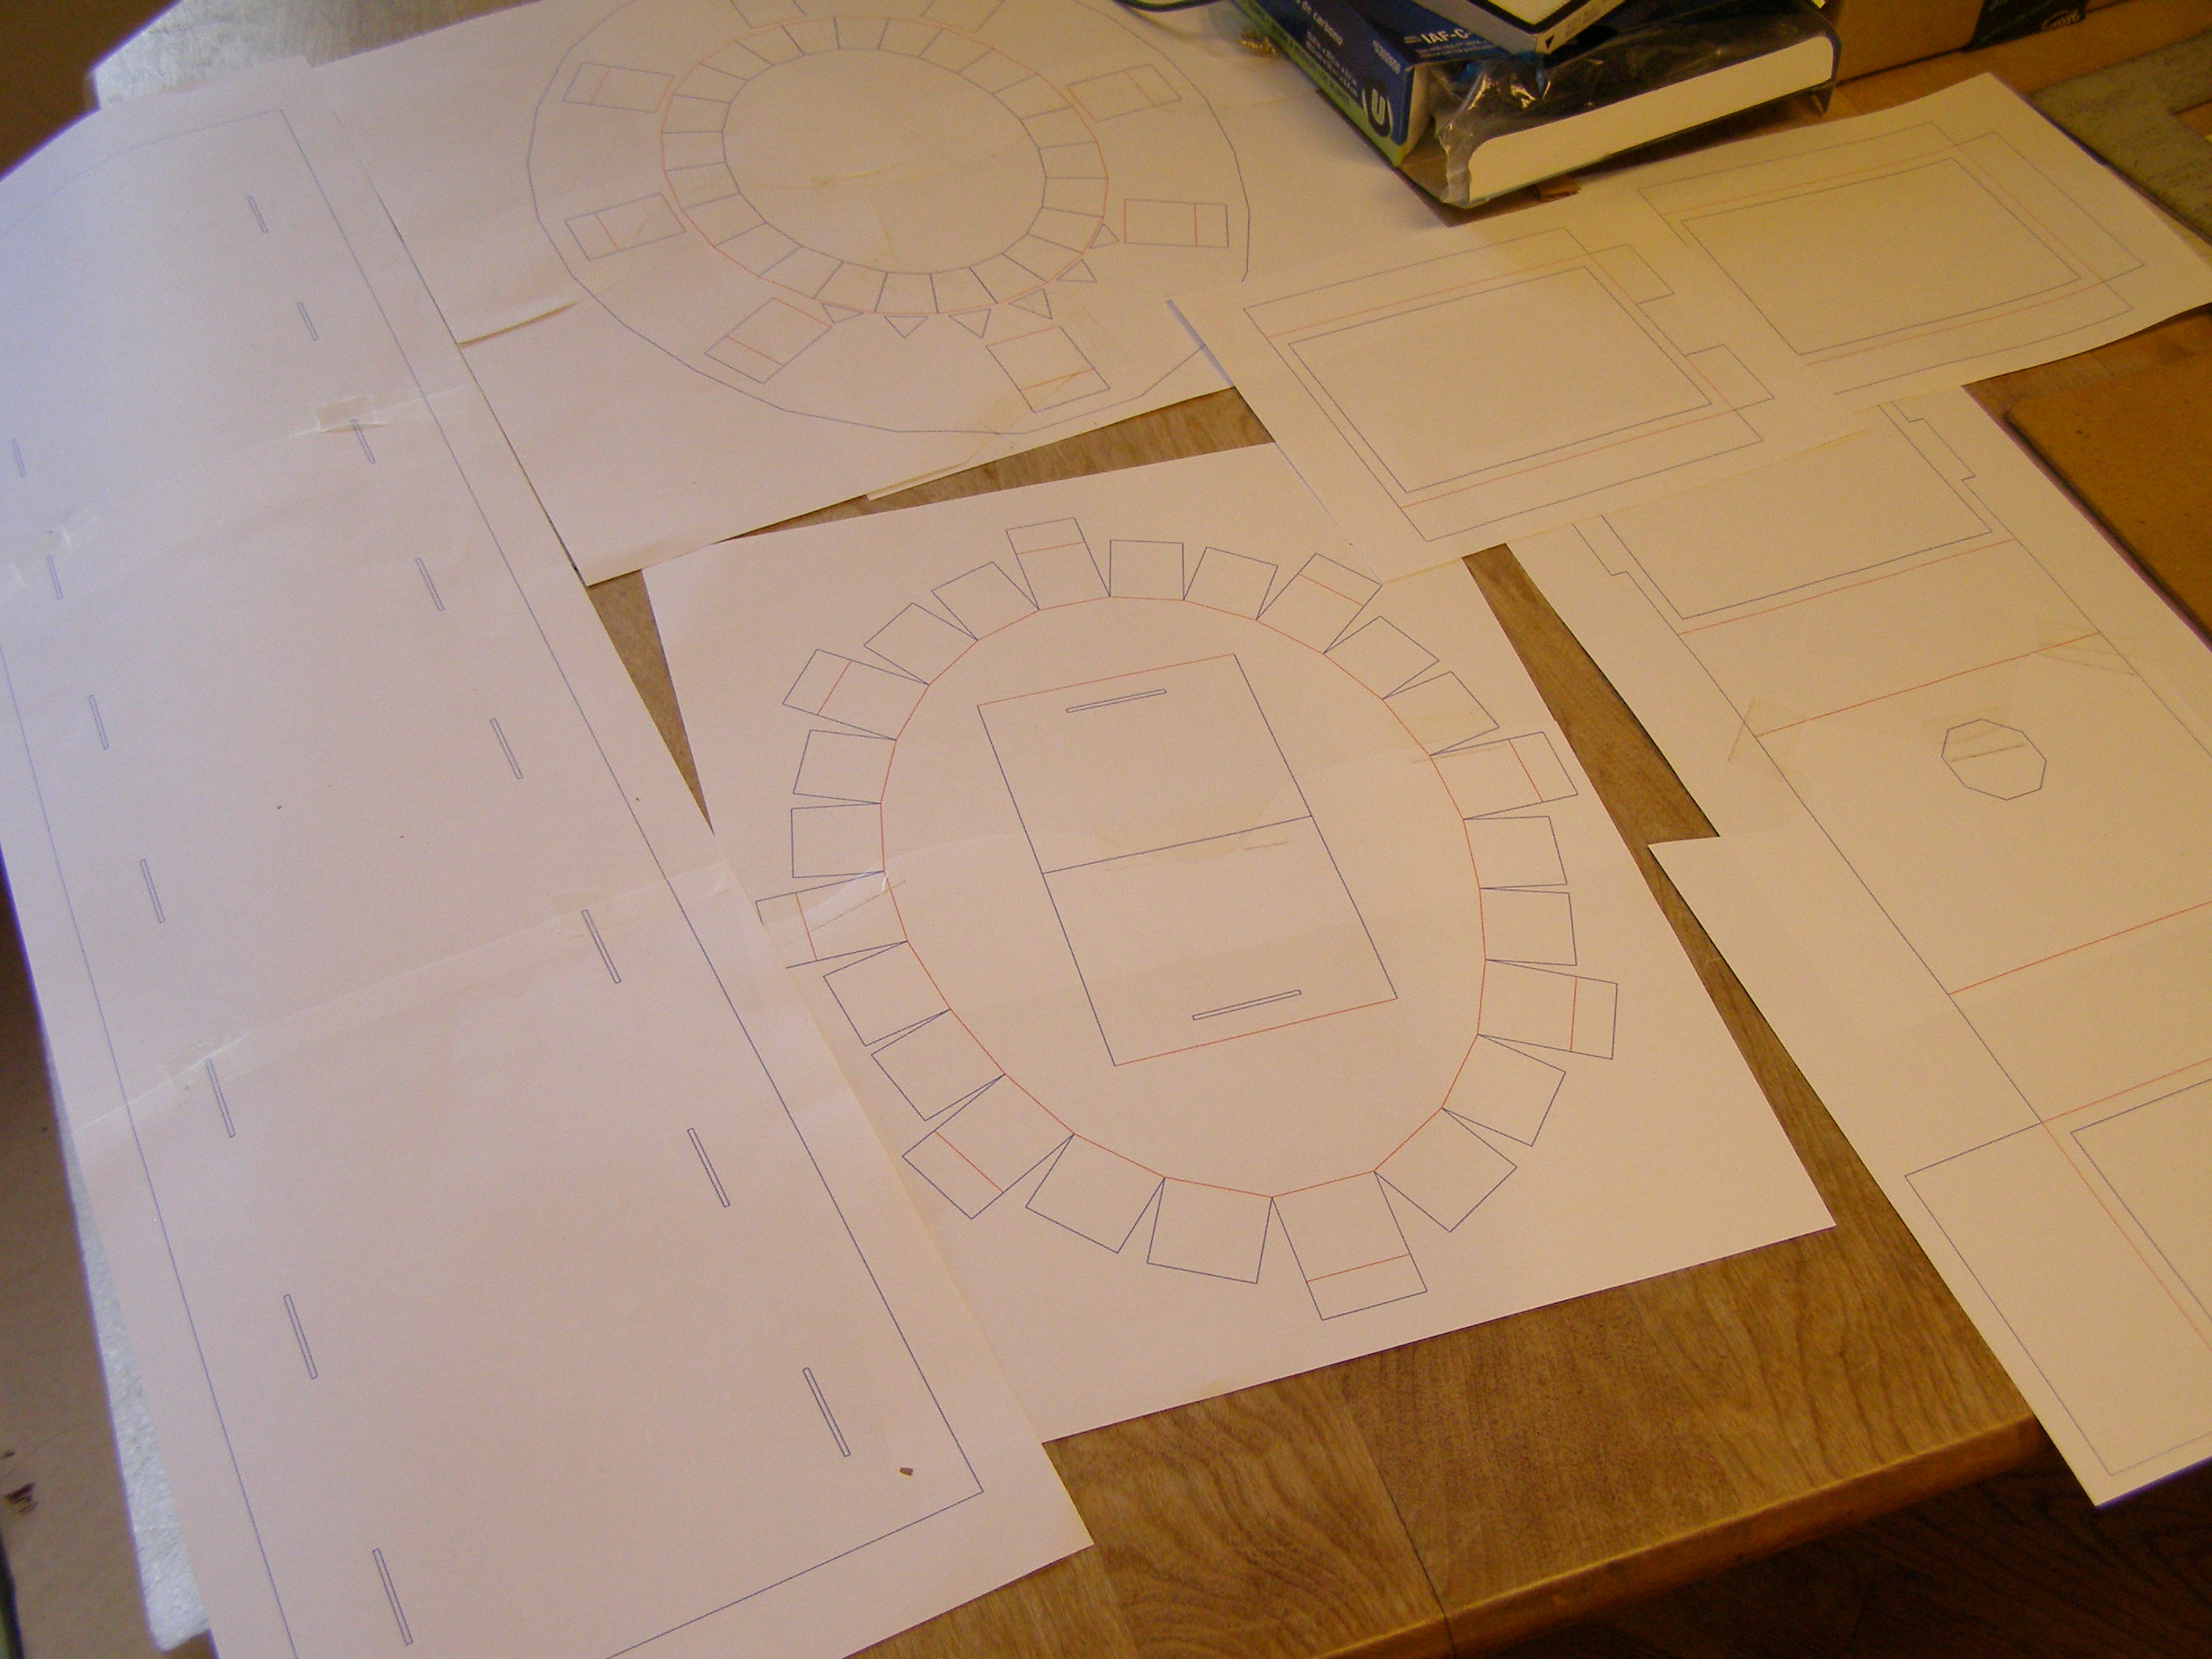
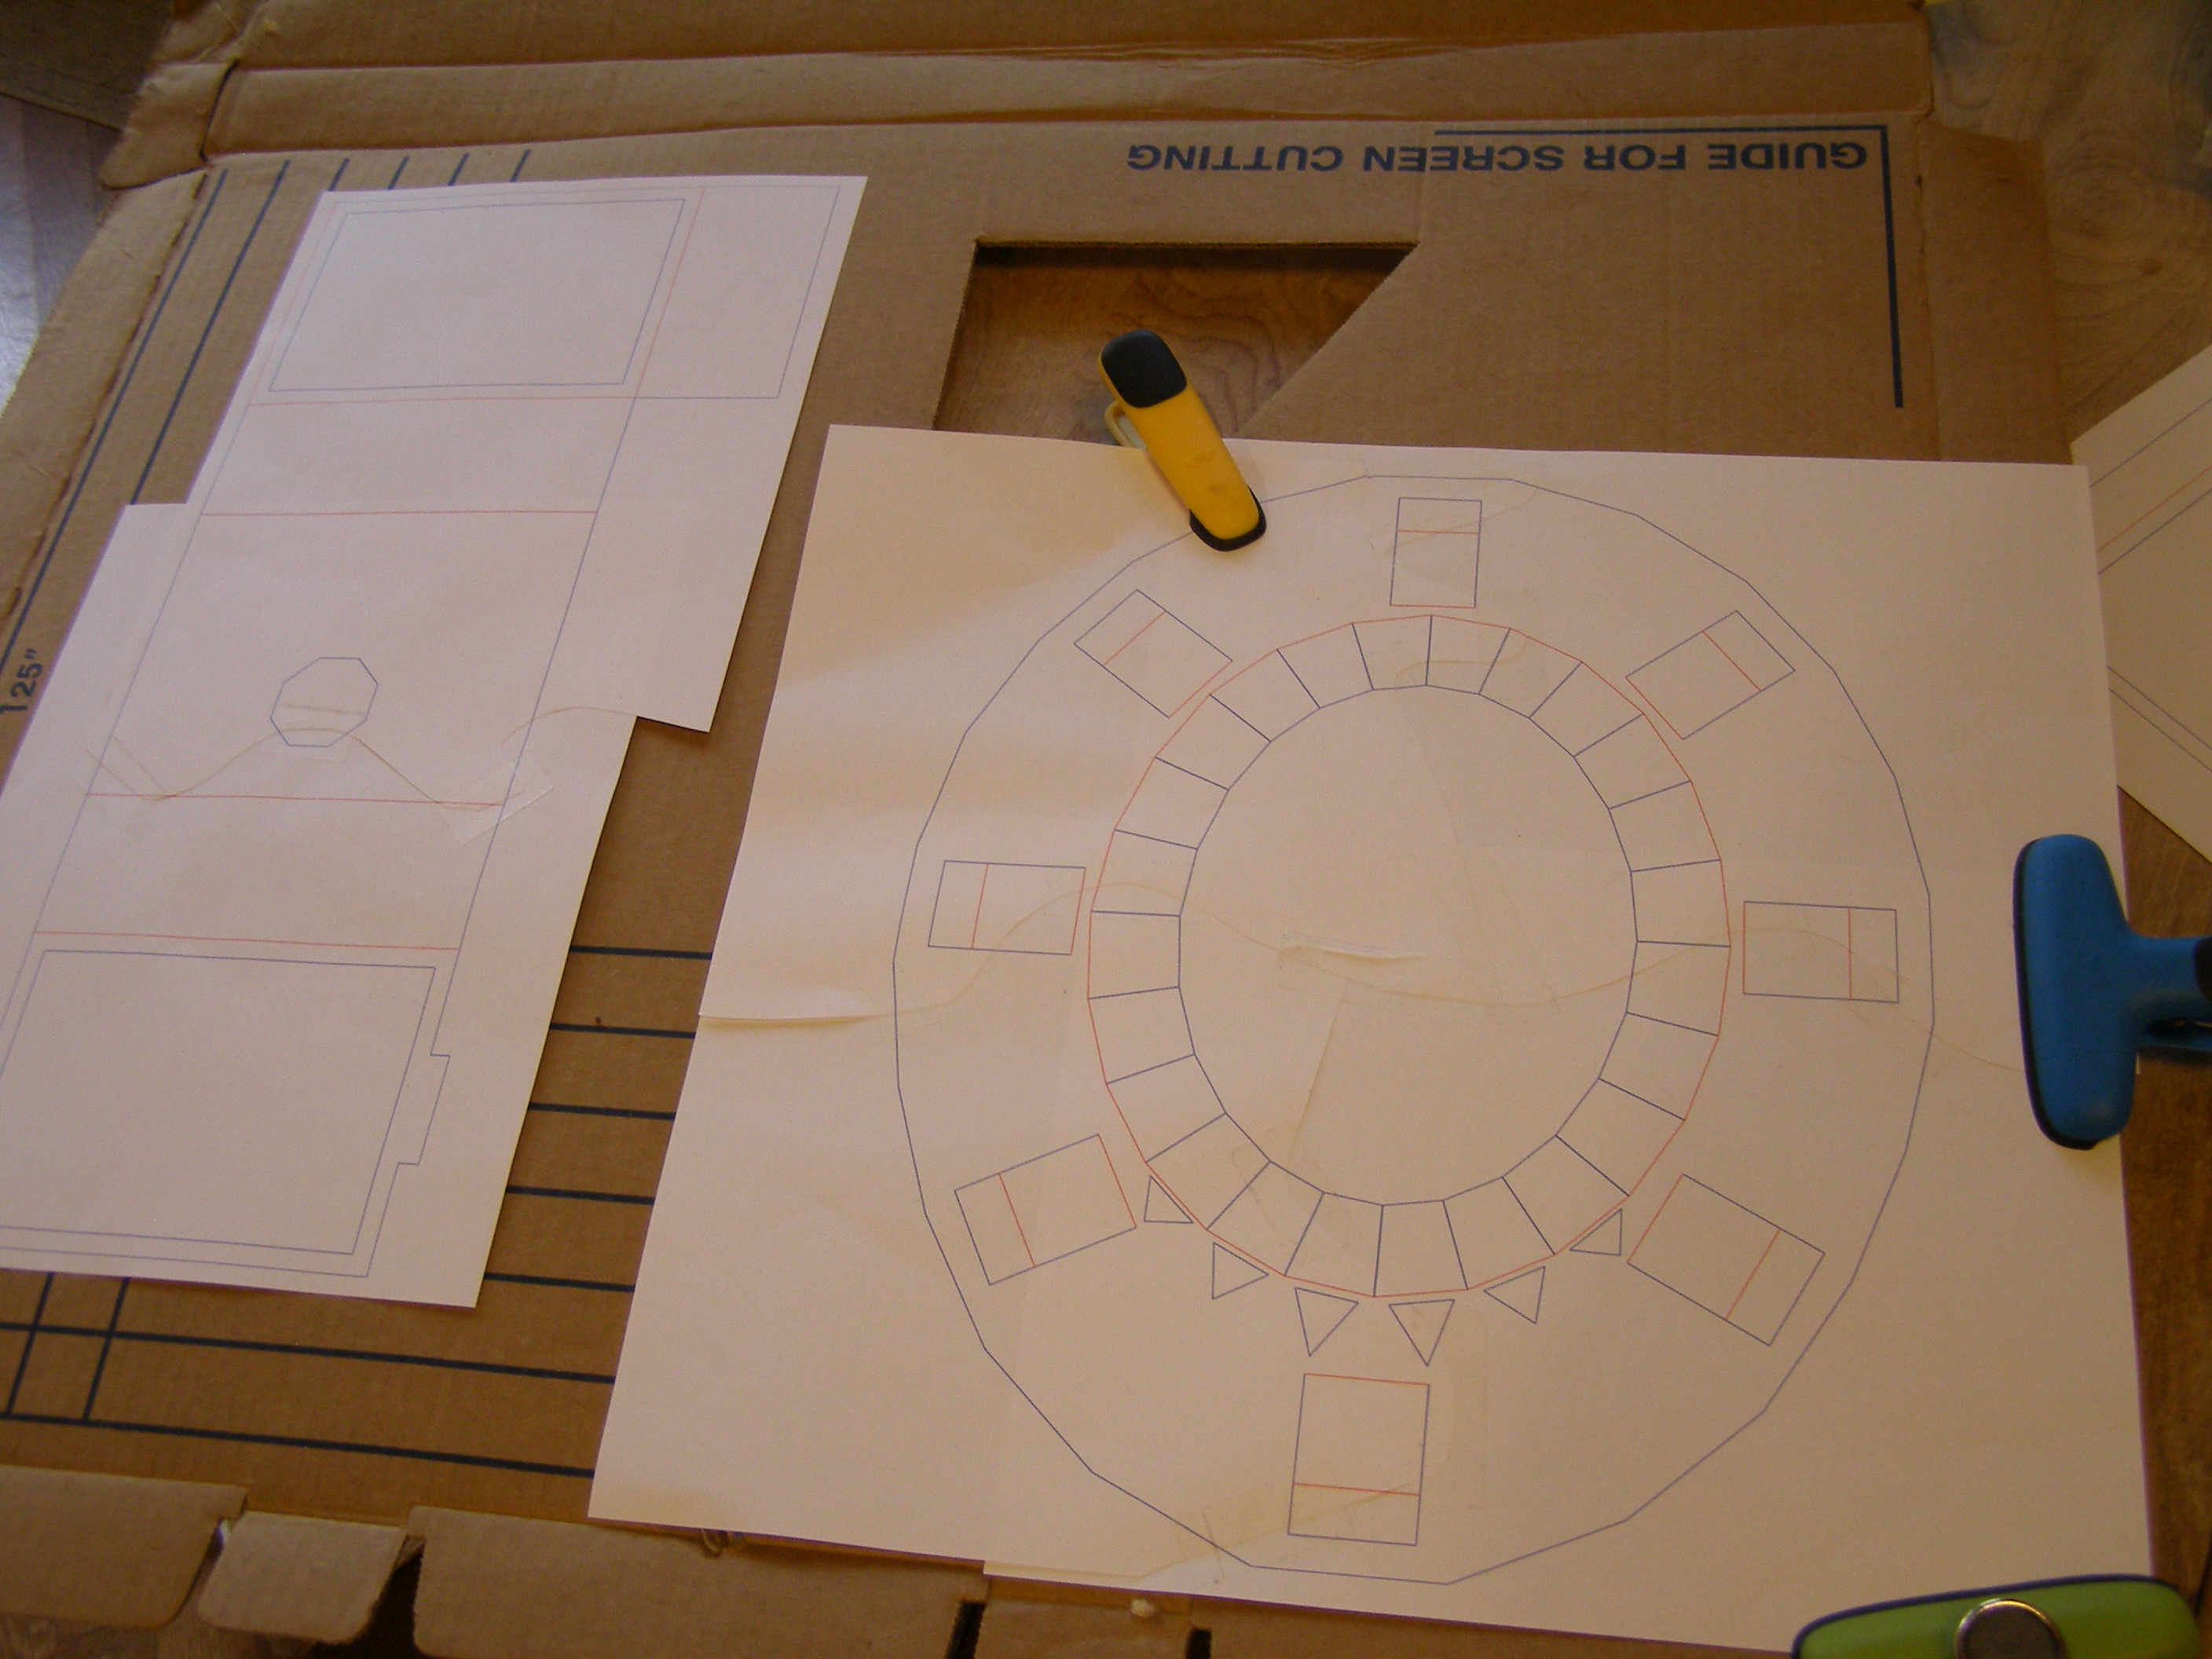
To cut the cardboard, I mostly used utility knives, with the cardboard resting on a homemade jig that I made out of cardboard and styrofoam. The jig holds a metal straightedge in a good place so that I can cut along the straightedge with a utility knife.

Alas, I forgot to photograph all the cardboard pieces after I cut them out.
Cutting the cardboard took me a total of 2.75 hours. Since I've been toying with the idea of making more of these to sell, I've been thinking about the practicalities of making multiple hats. Nearly 3 hours of cutting alone is impractical for me. Doubly so because I have to be careful with my hands, due to my old injury. Counting the time I spent resting, the total was much more.
I could probably have this whole design cut by a laser-cutting service for about $25, which would be much more efficient. Either way, the cutting cost is bigger than the materials cost.
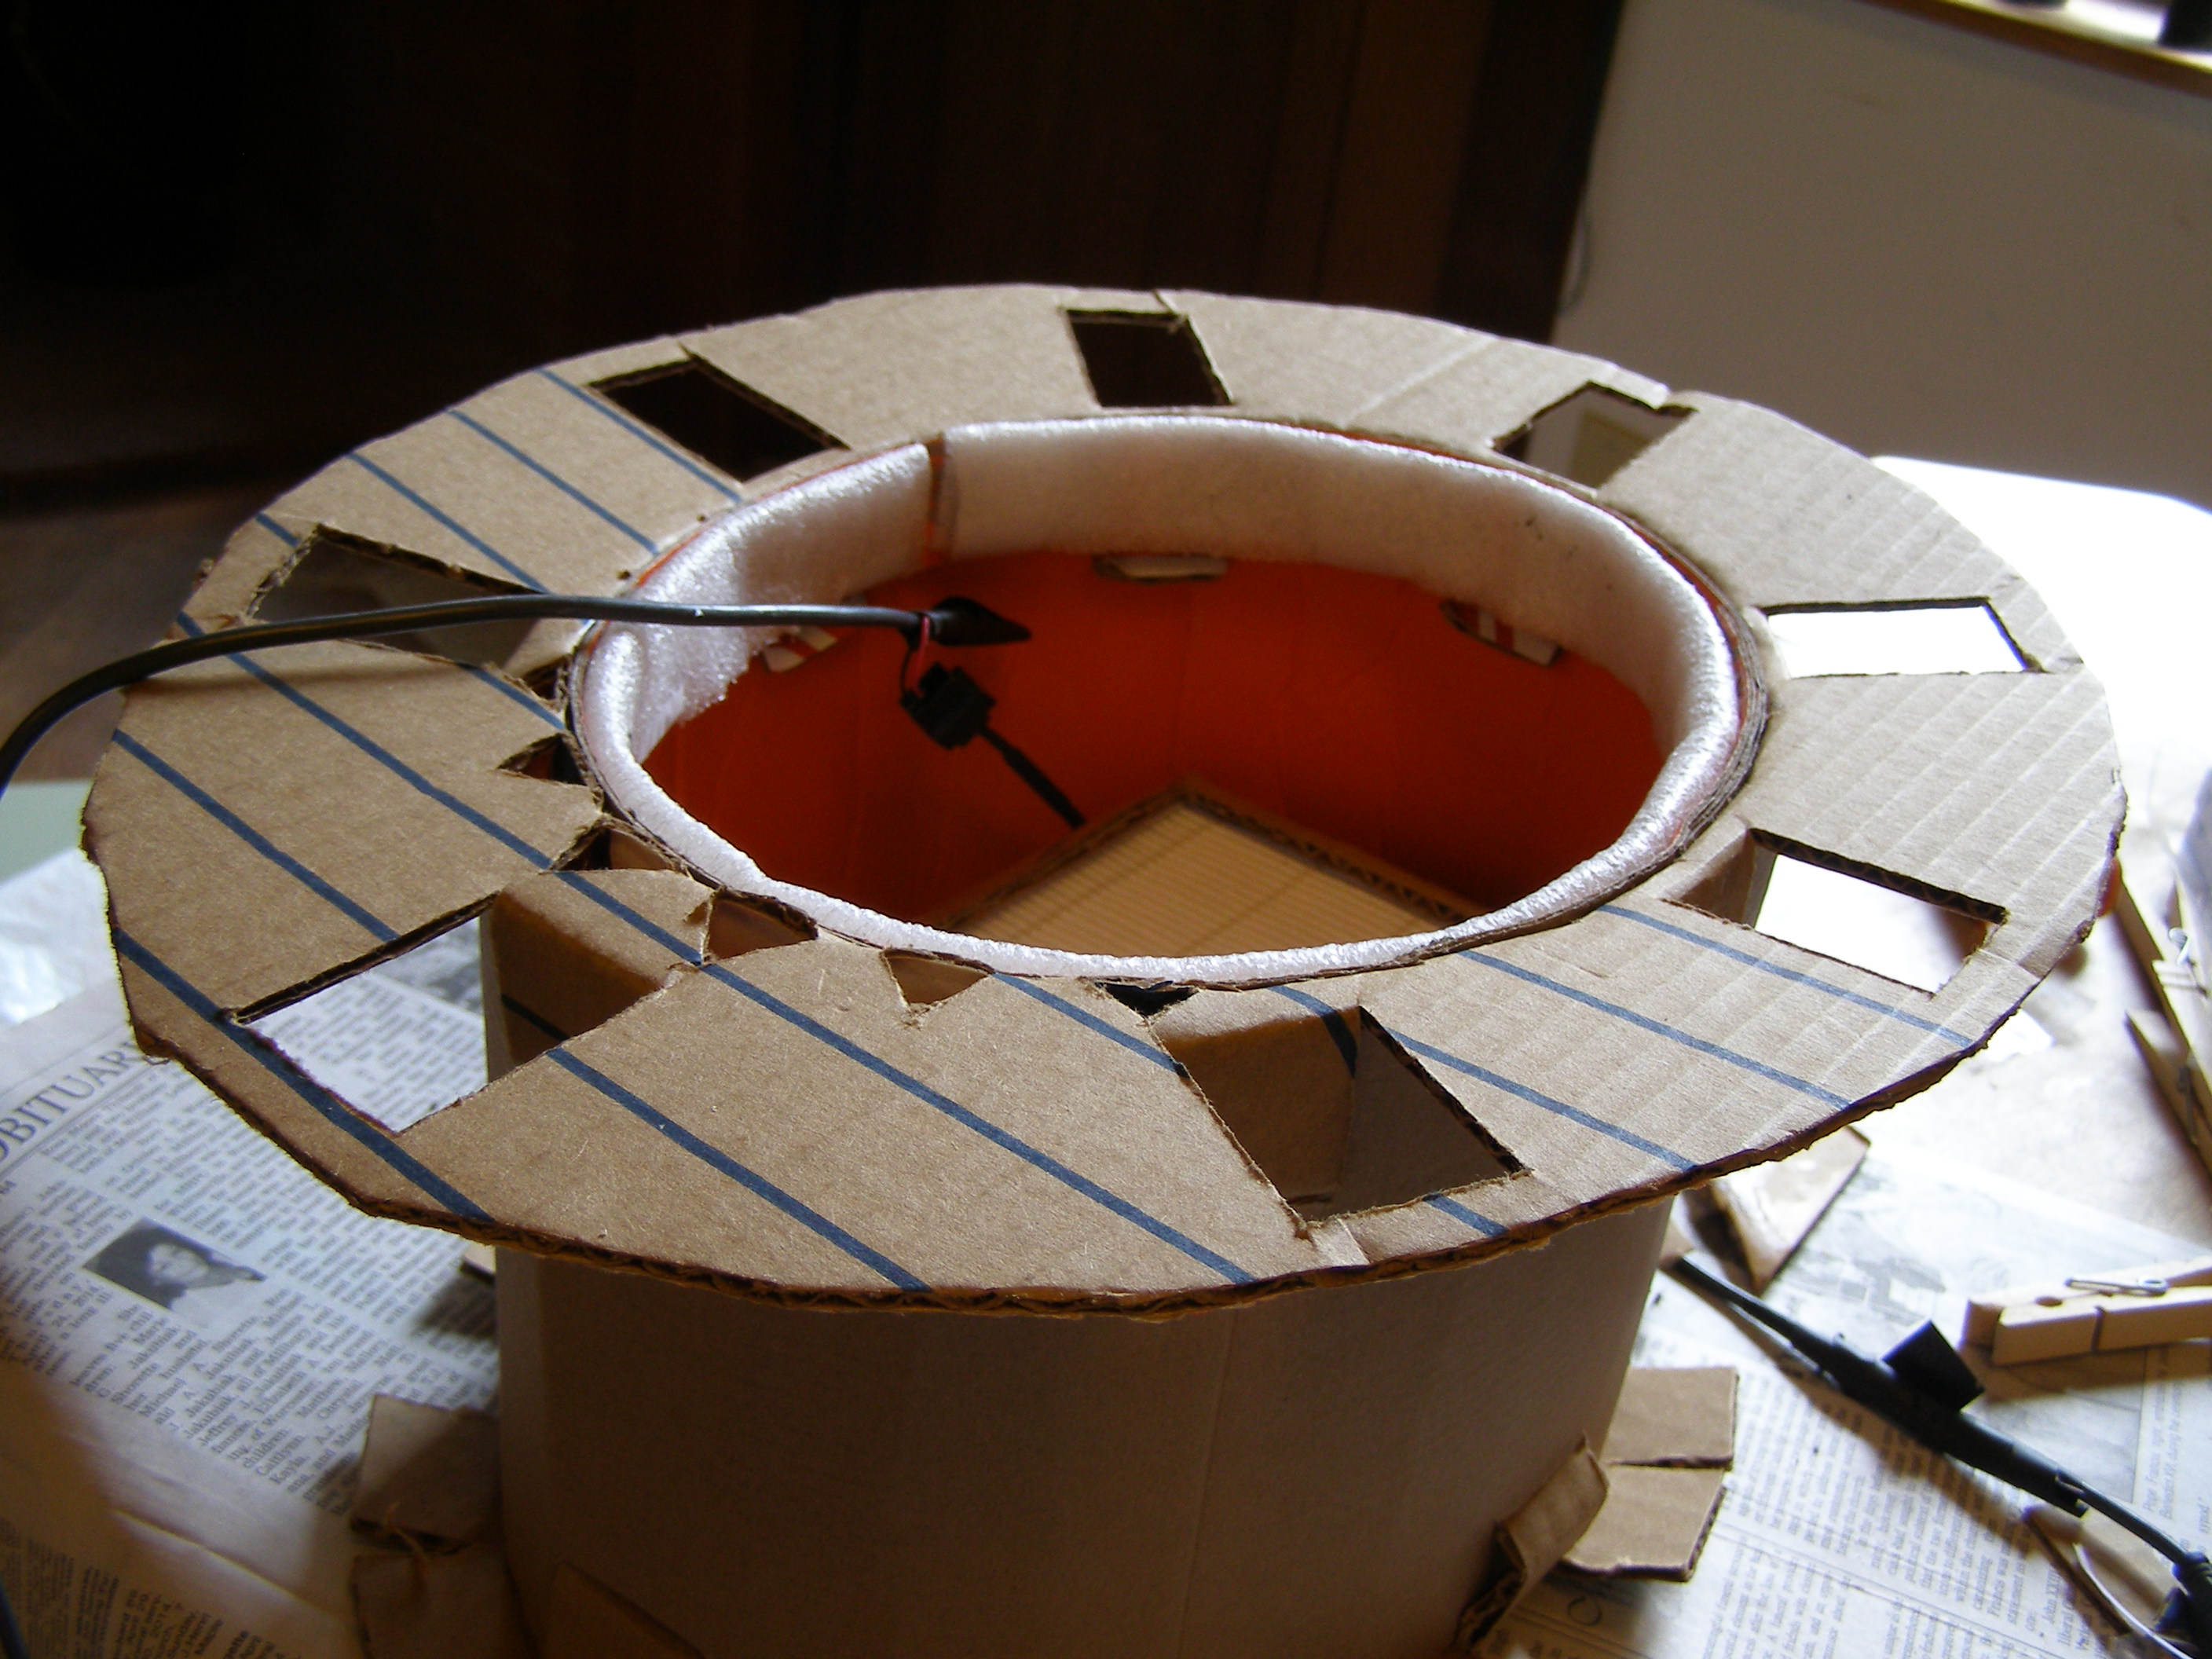
After cutting out the pieces, I started assembling them. The hat is made to the exact size of my head. I glued a band of cardboard, then foam padding, to the brim of the hat.
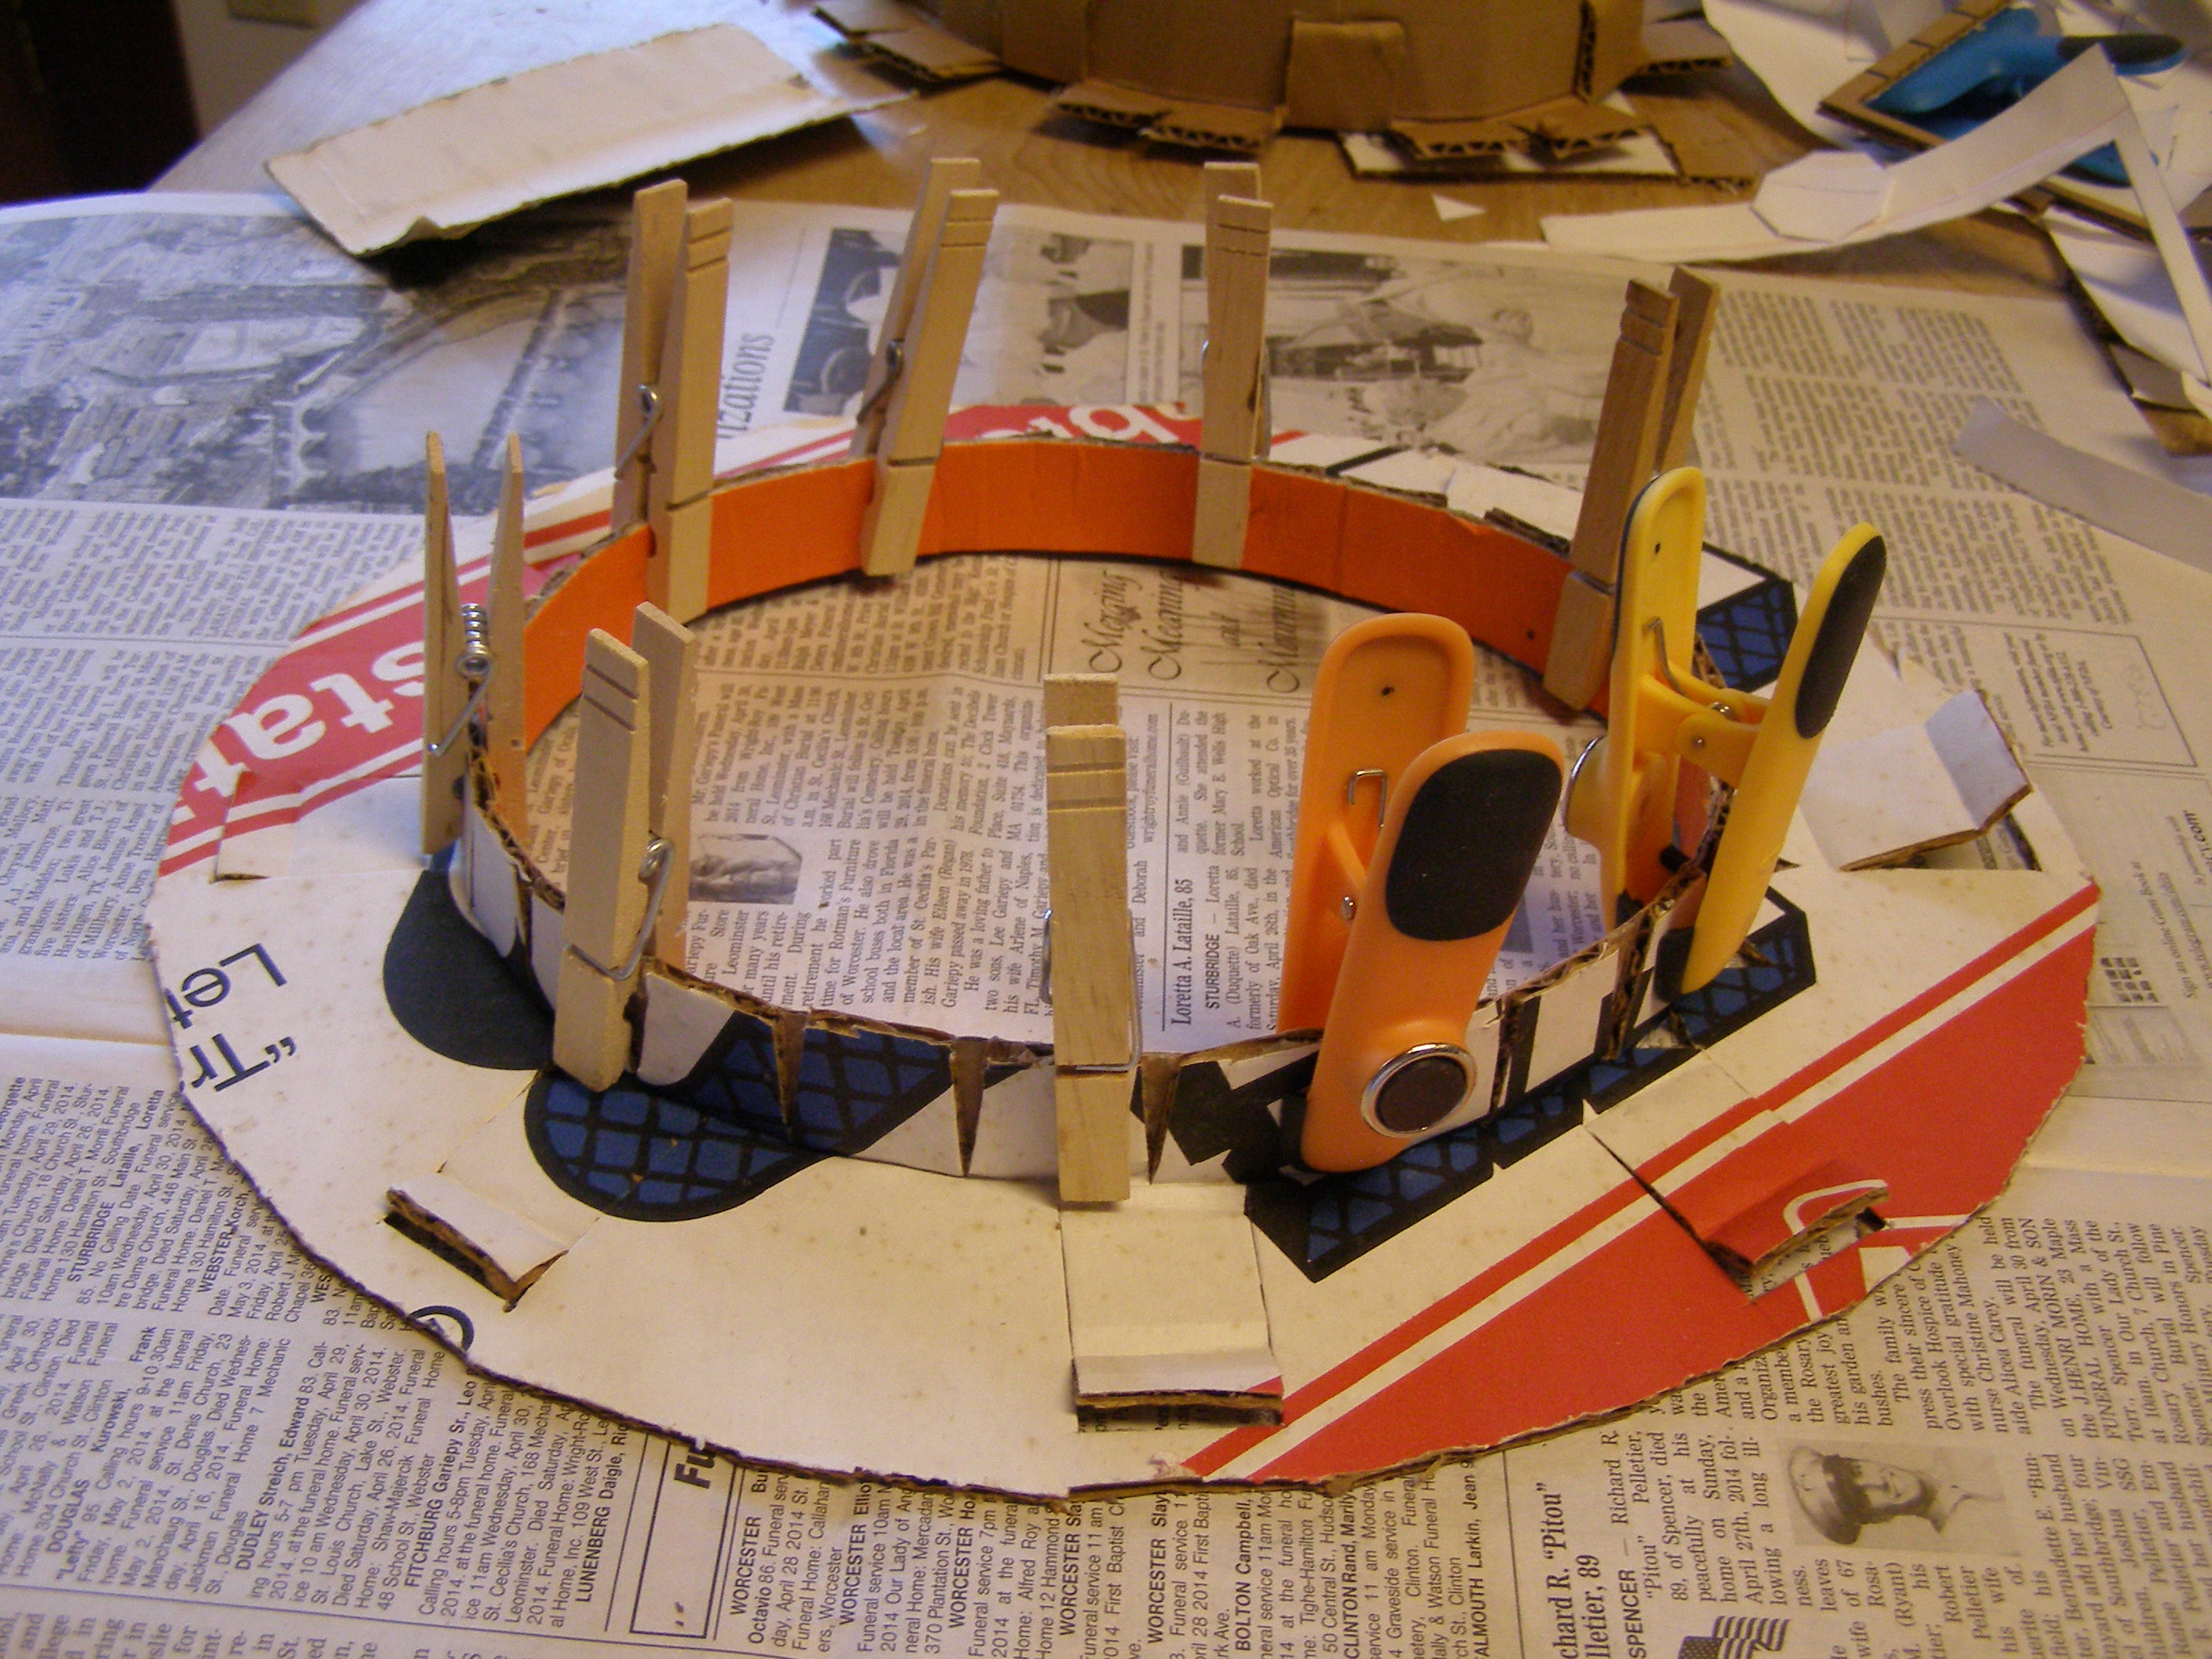
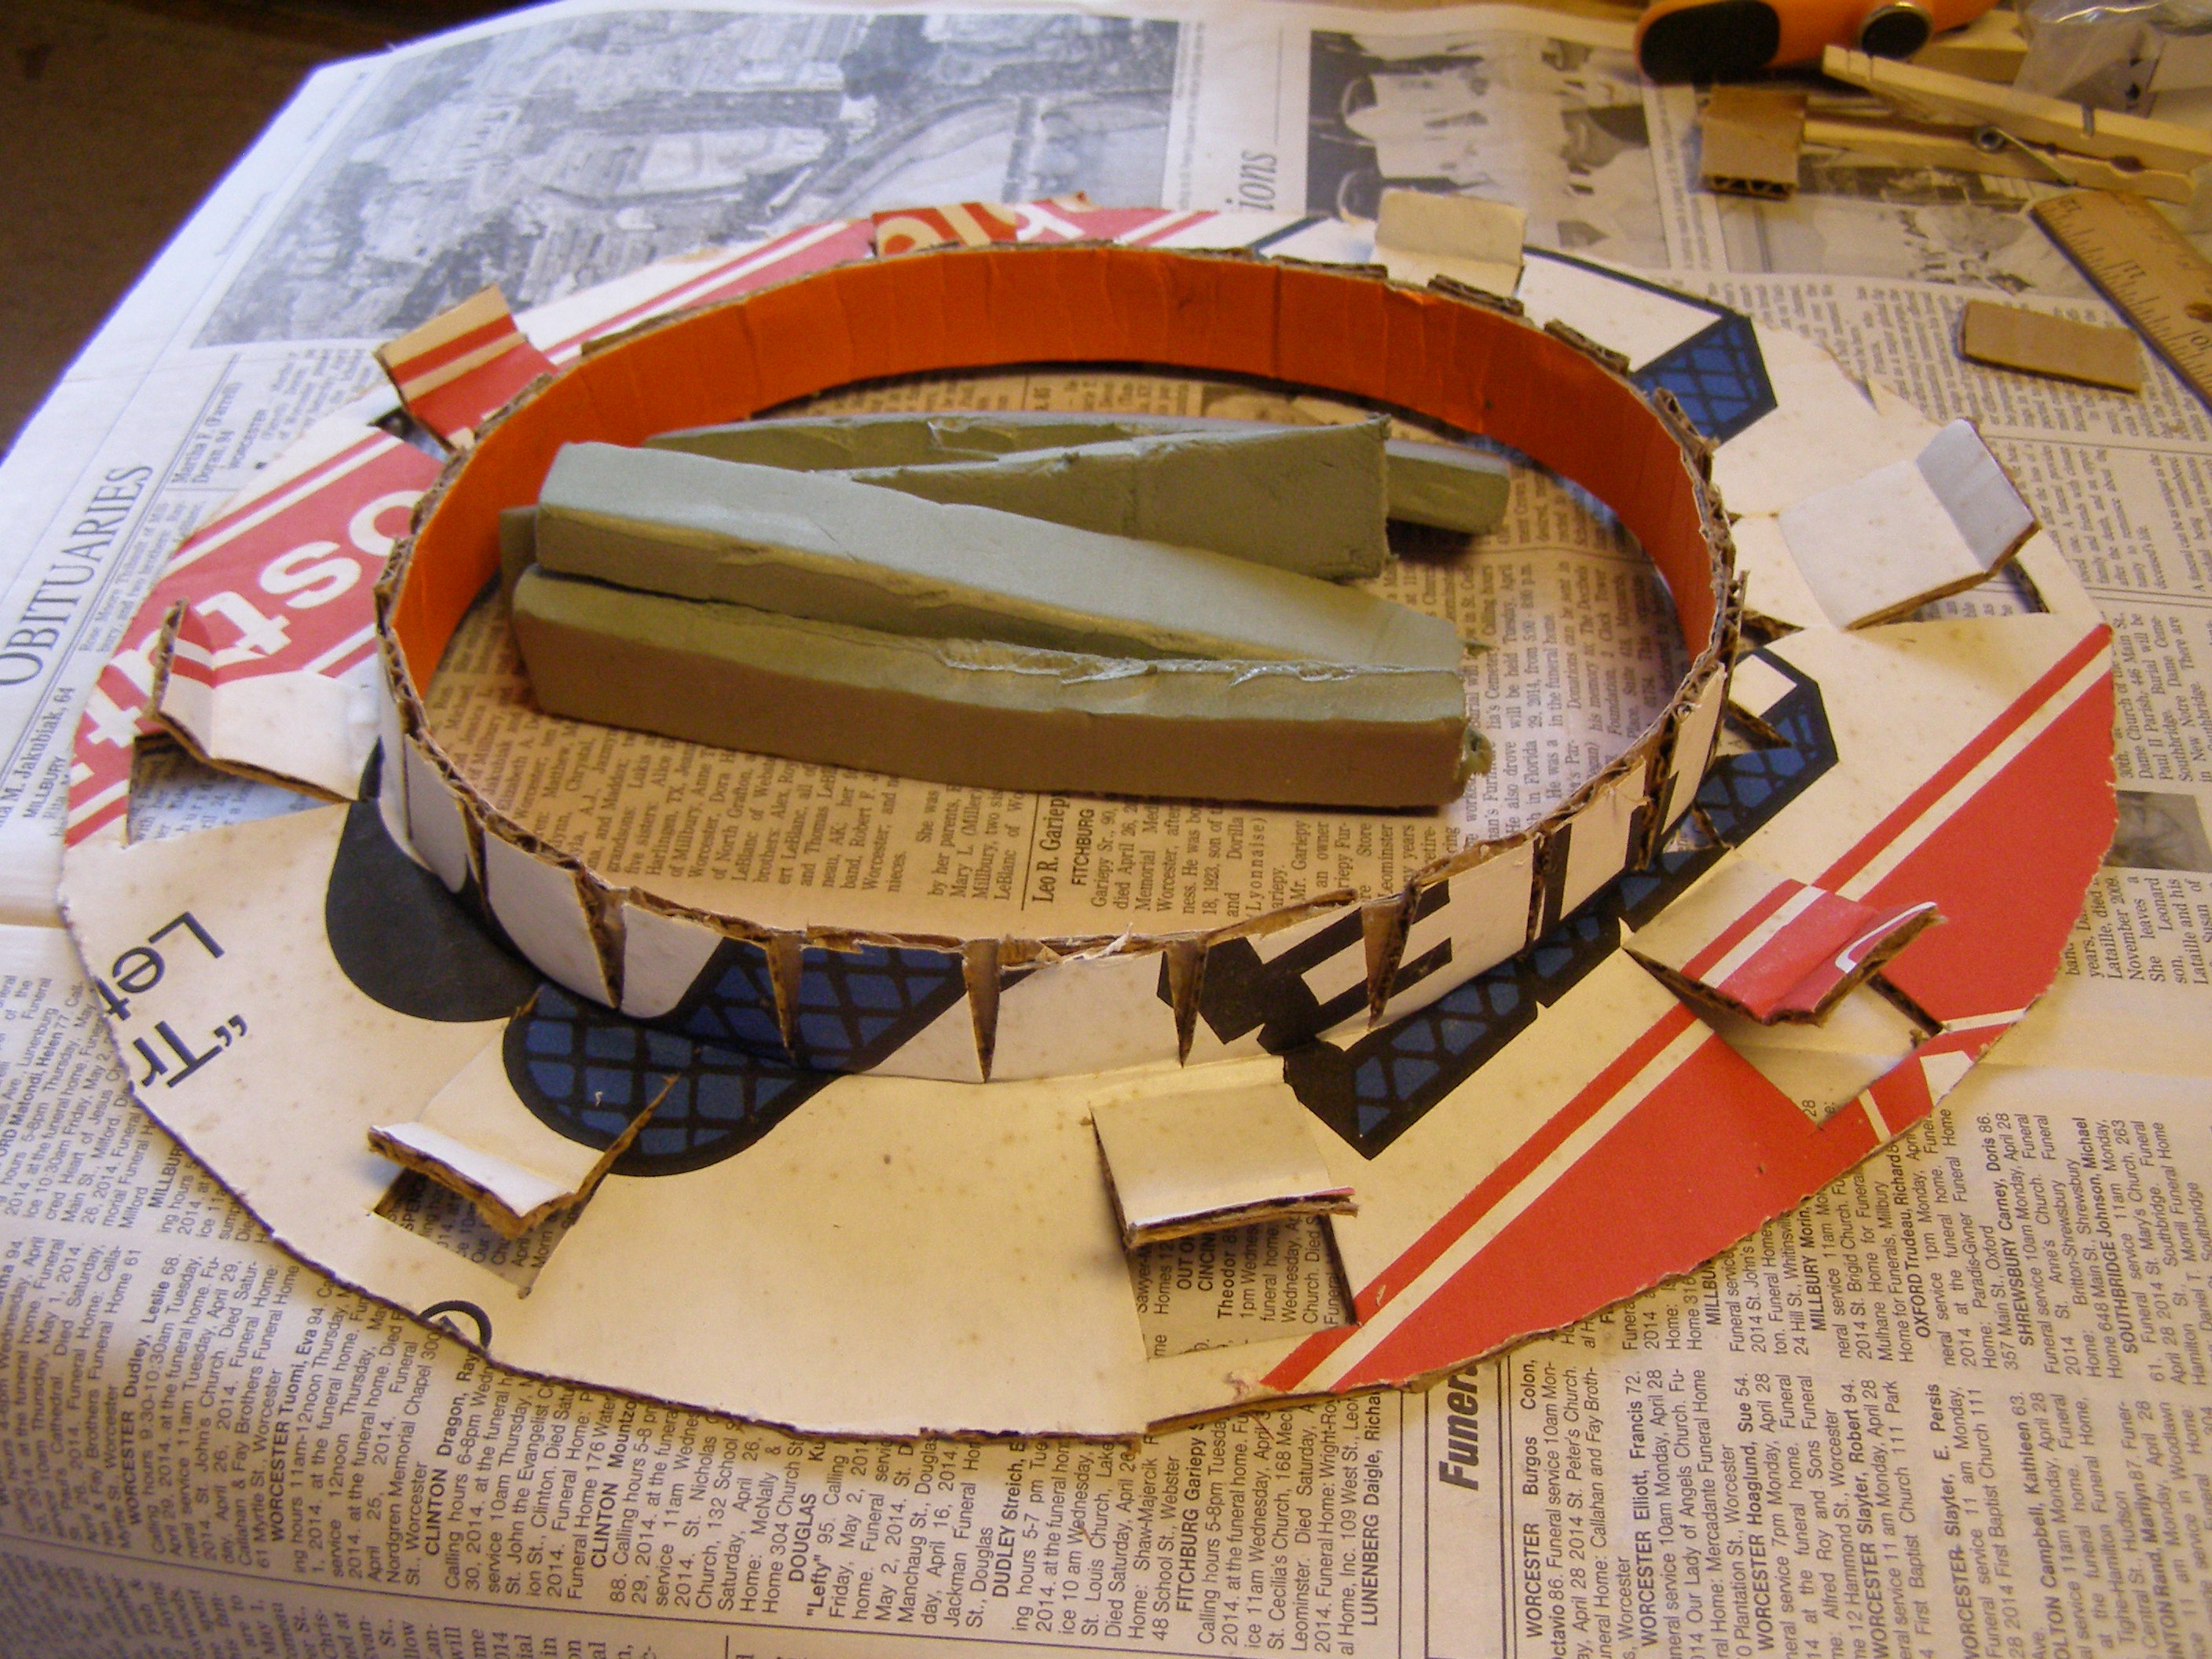
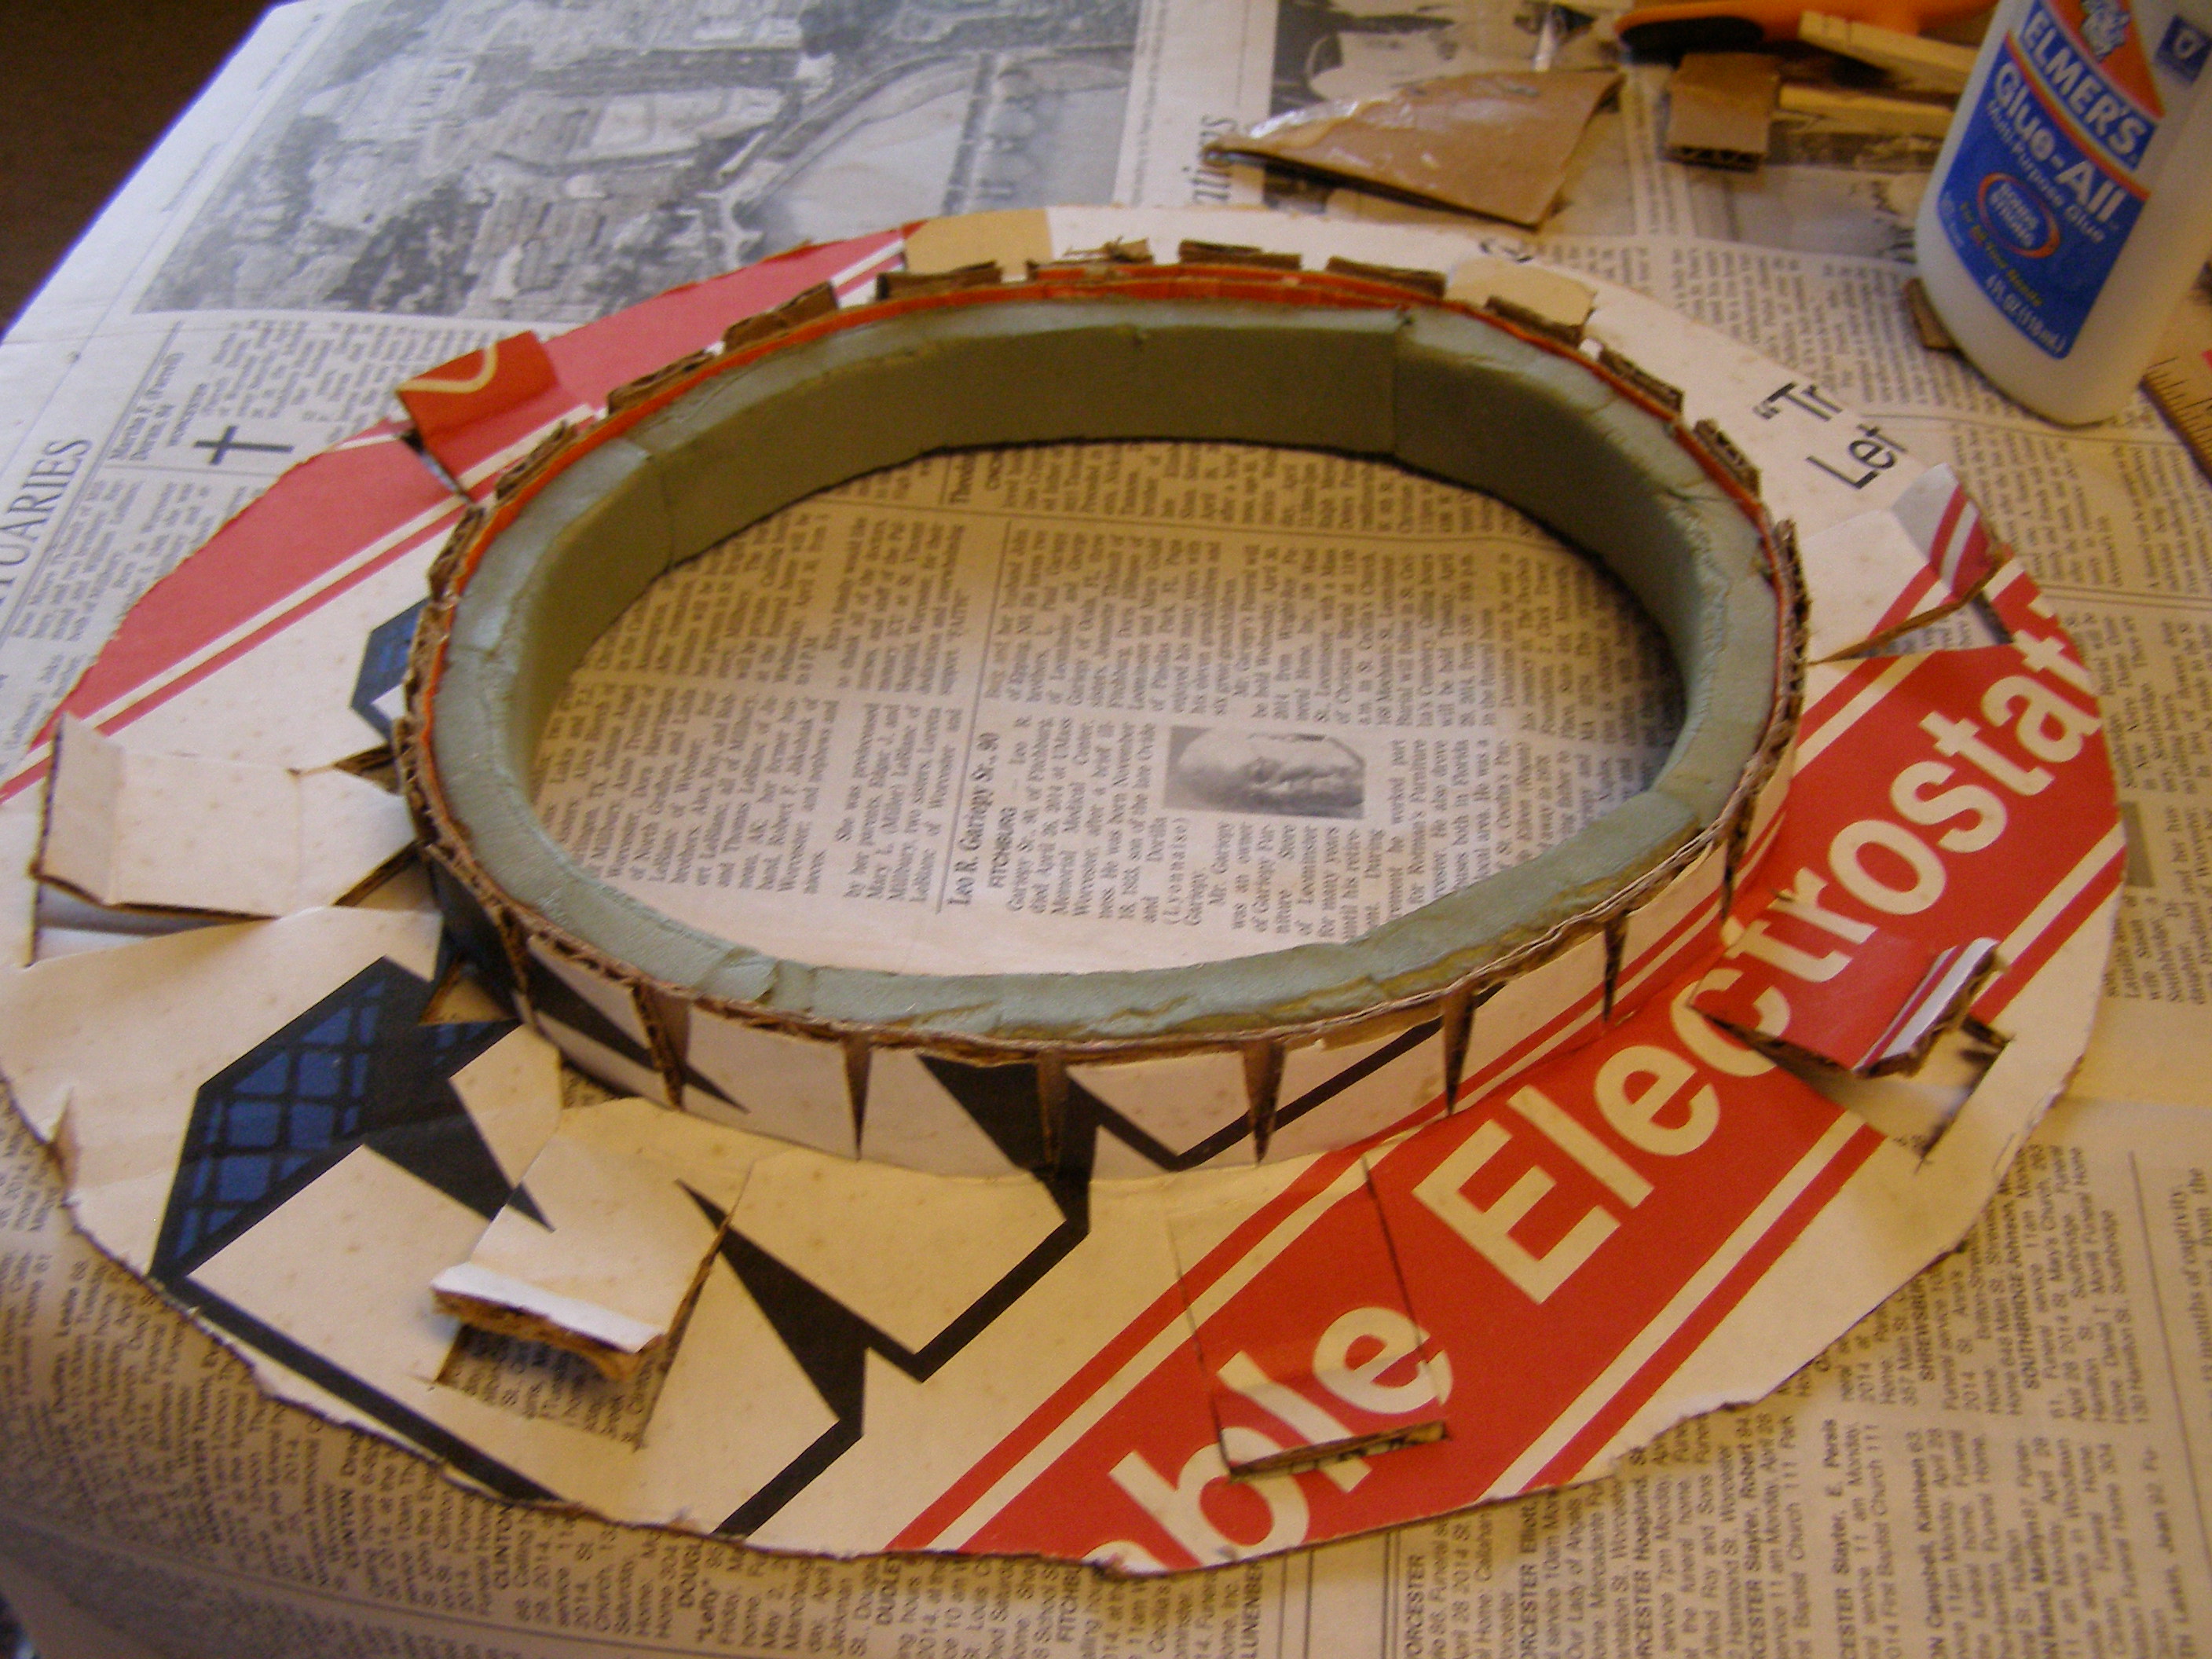
Then I attached the other pieces to the brim, making a complete hat! This hat has a fun feature: The roof and brim of the hat are attached to the wall by cardboard tabs in cardboard slots. You can pull out the tabs and collapse the whole hat into a much smaller space. This is useful for transporting it – for instance, I might need to collapse it to carry it by bicycle.

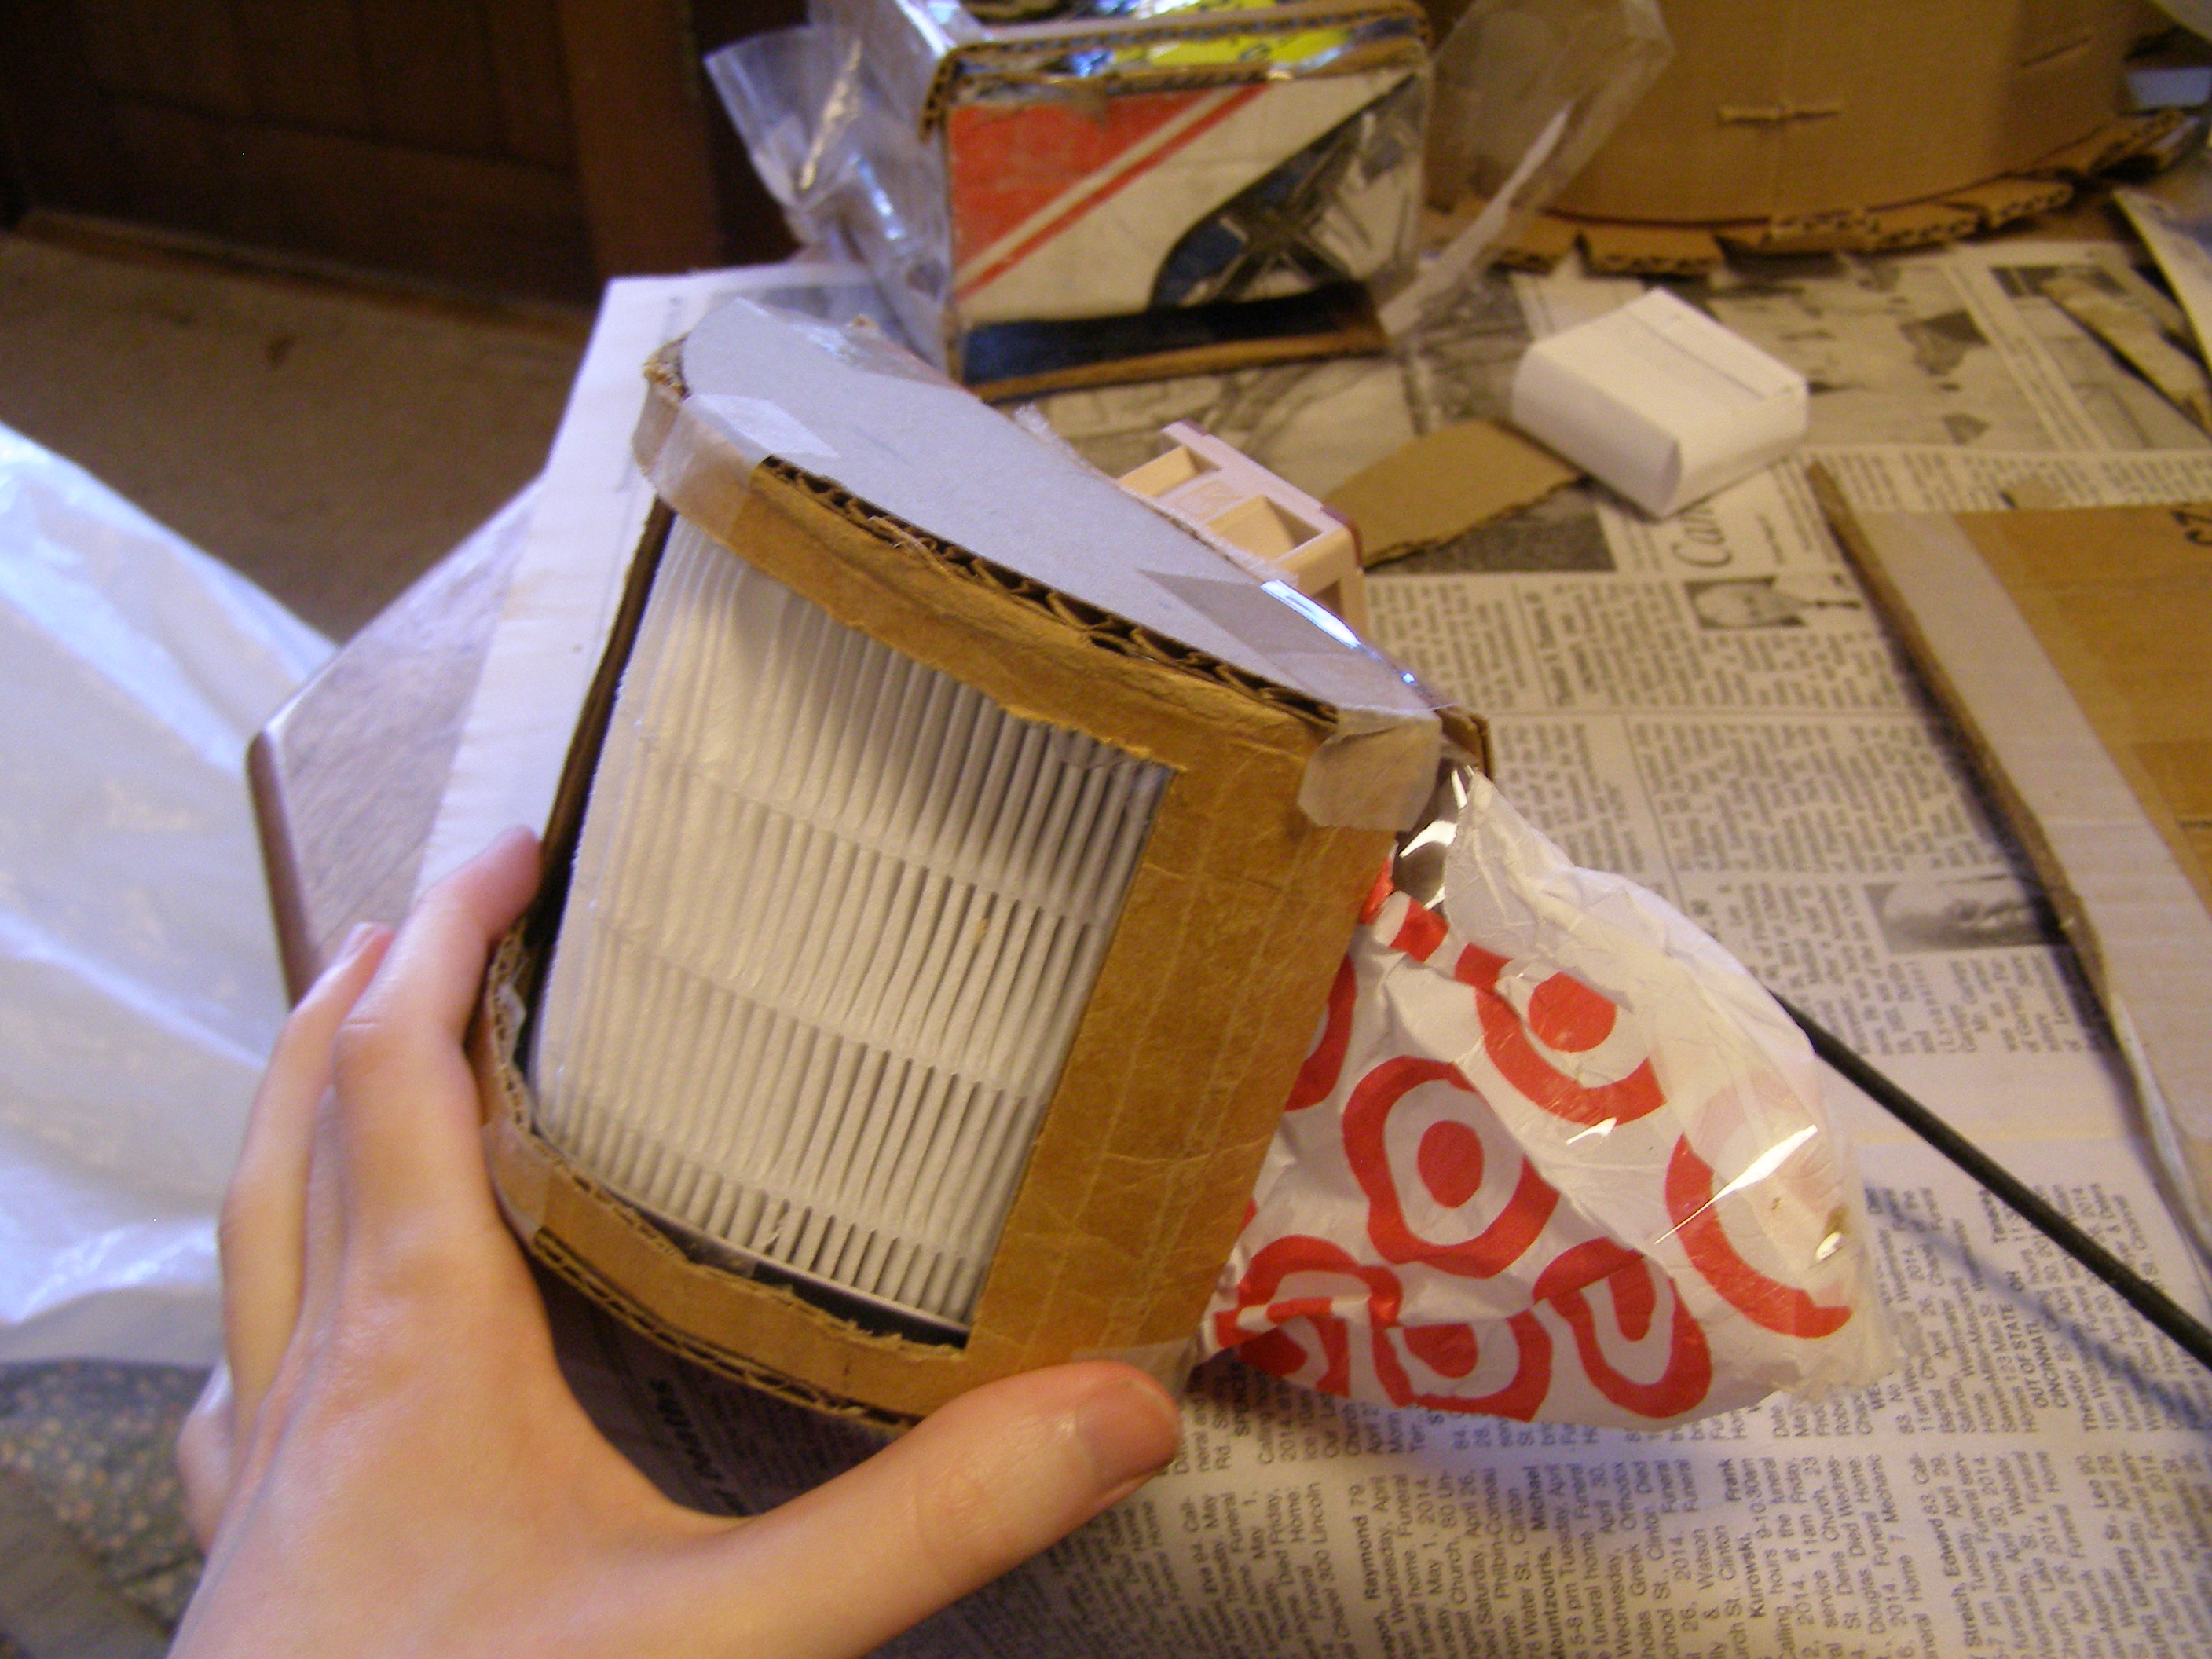
Then, I built the air-purifier box. It has a slot at one end for a pre-filter, and a slot at the other end for the HEPA filter. In between, there's a wall with a hole for the fan to mount. The fan blows air from one side to the other. All of the assembly (not counting cutting) only took about 1.5 hours, and was less hard on my hands.

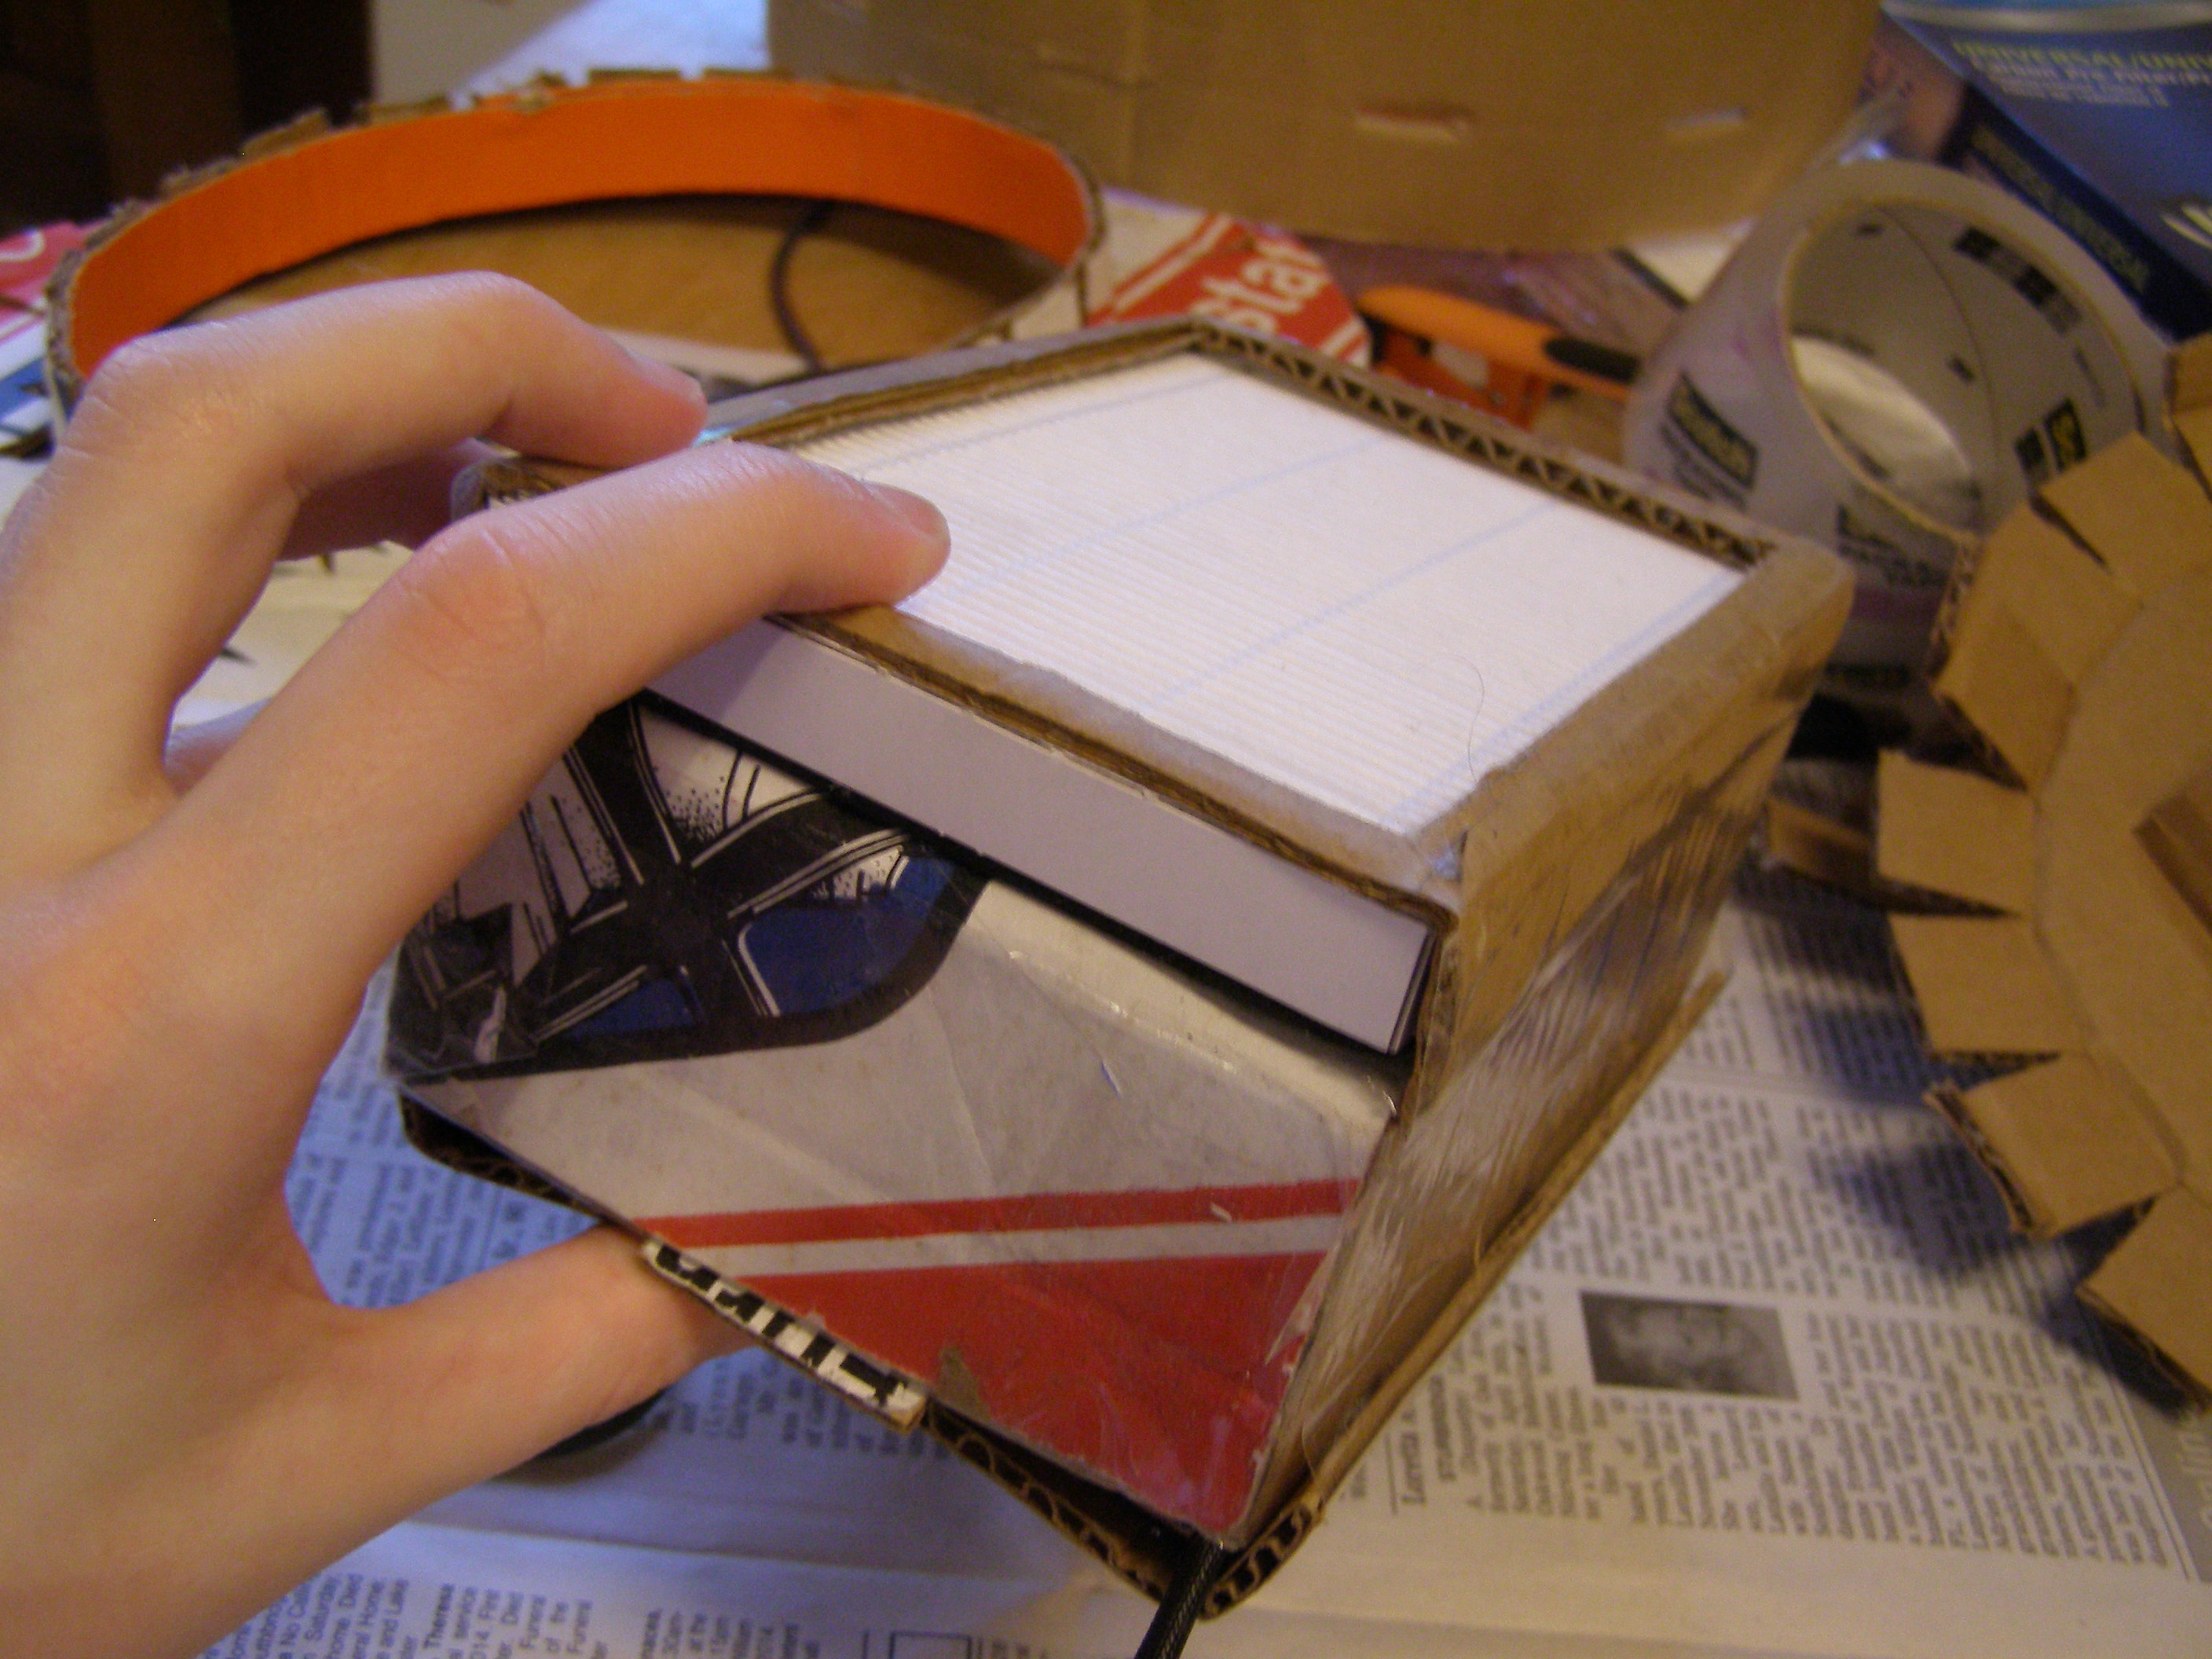
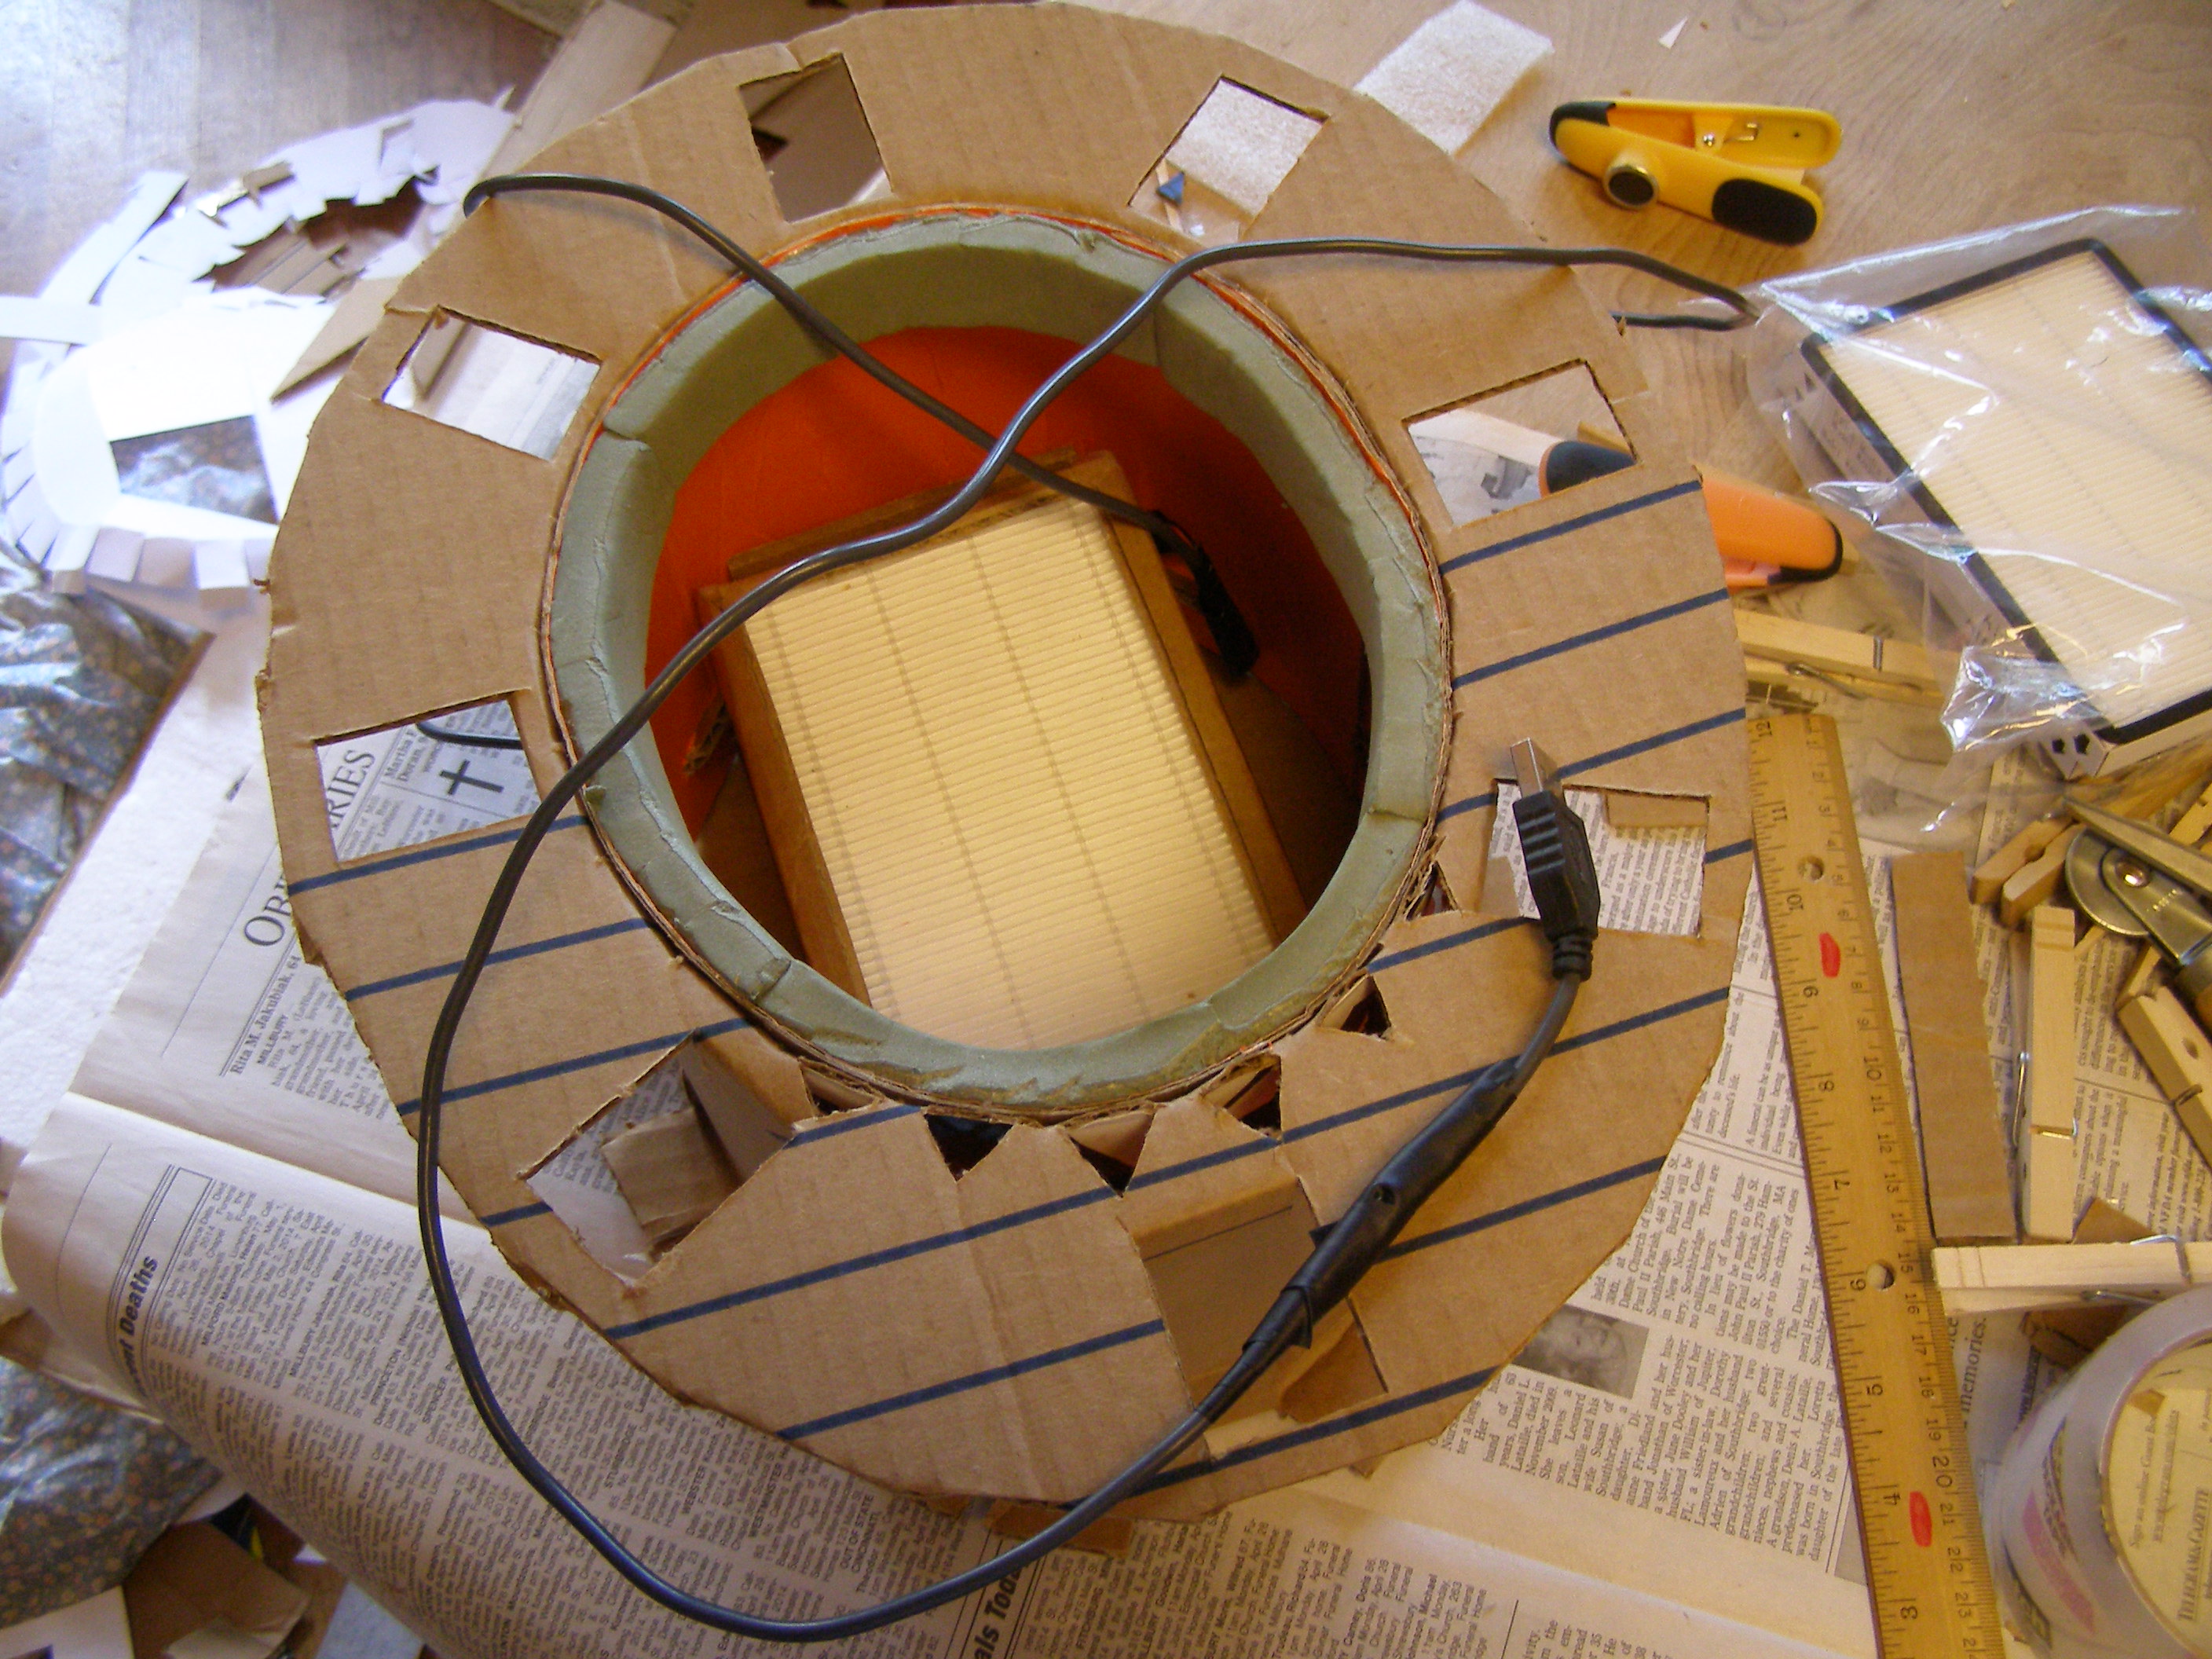
The box is also held into the top of the hat by cardboard tabs. It's just as removable as the other pieces. When it's in place, it pulls air from above my head and pushes filtered air inside the hat – where it eventually finds its way through the triangular holes above my face. So I simply inserted it into the slot, and…
...and it didn't quite work right.
First of all, it came out too small for my head. Even though I took the thickness of the cardboard into account, I somehow didn't take it into account enough. So I ended up having to replace the foam padding with thinner foam, which didn't have as good a grip.
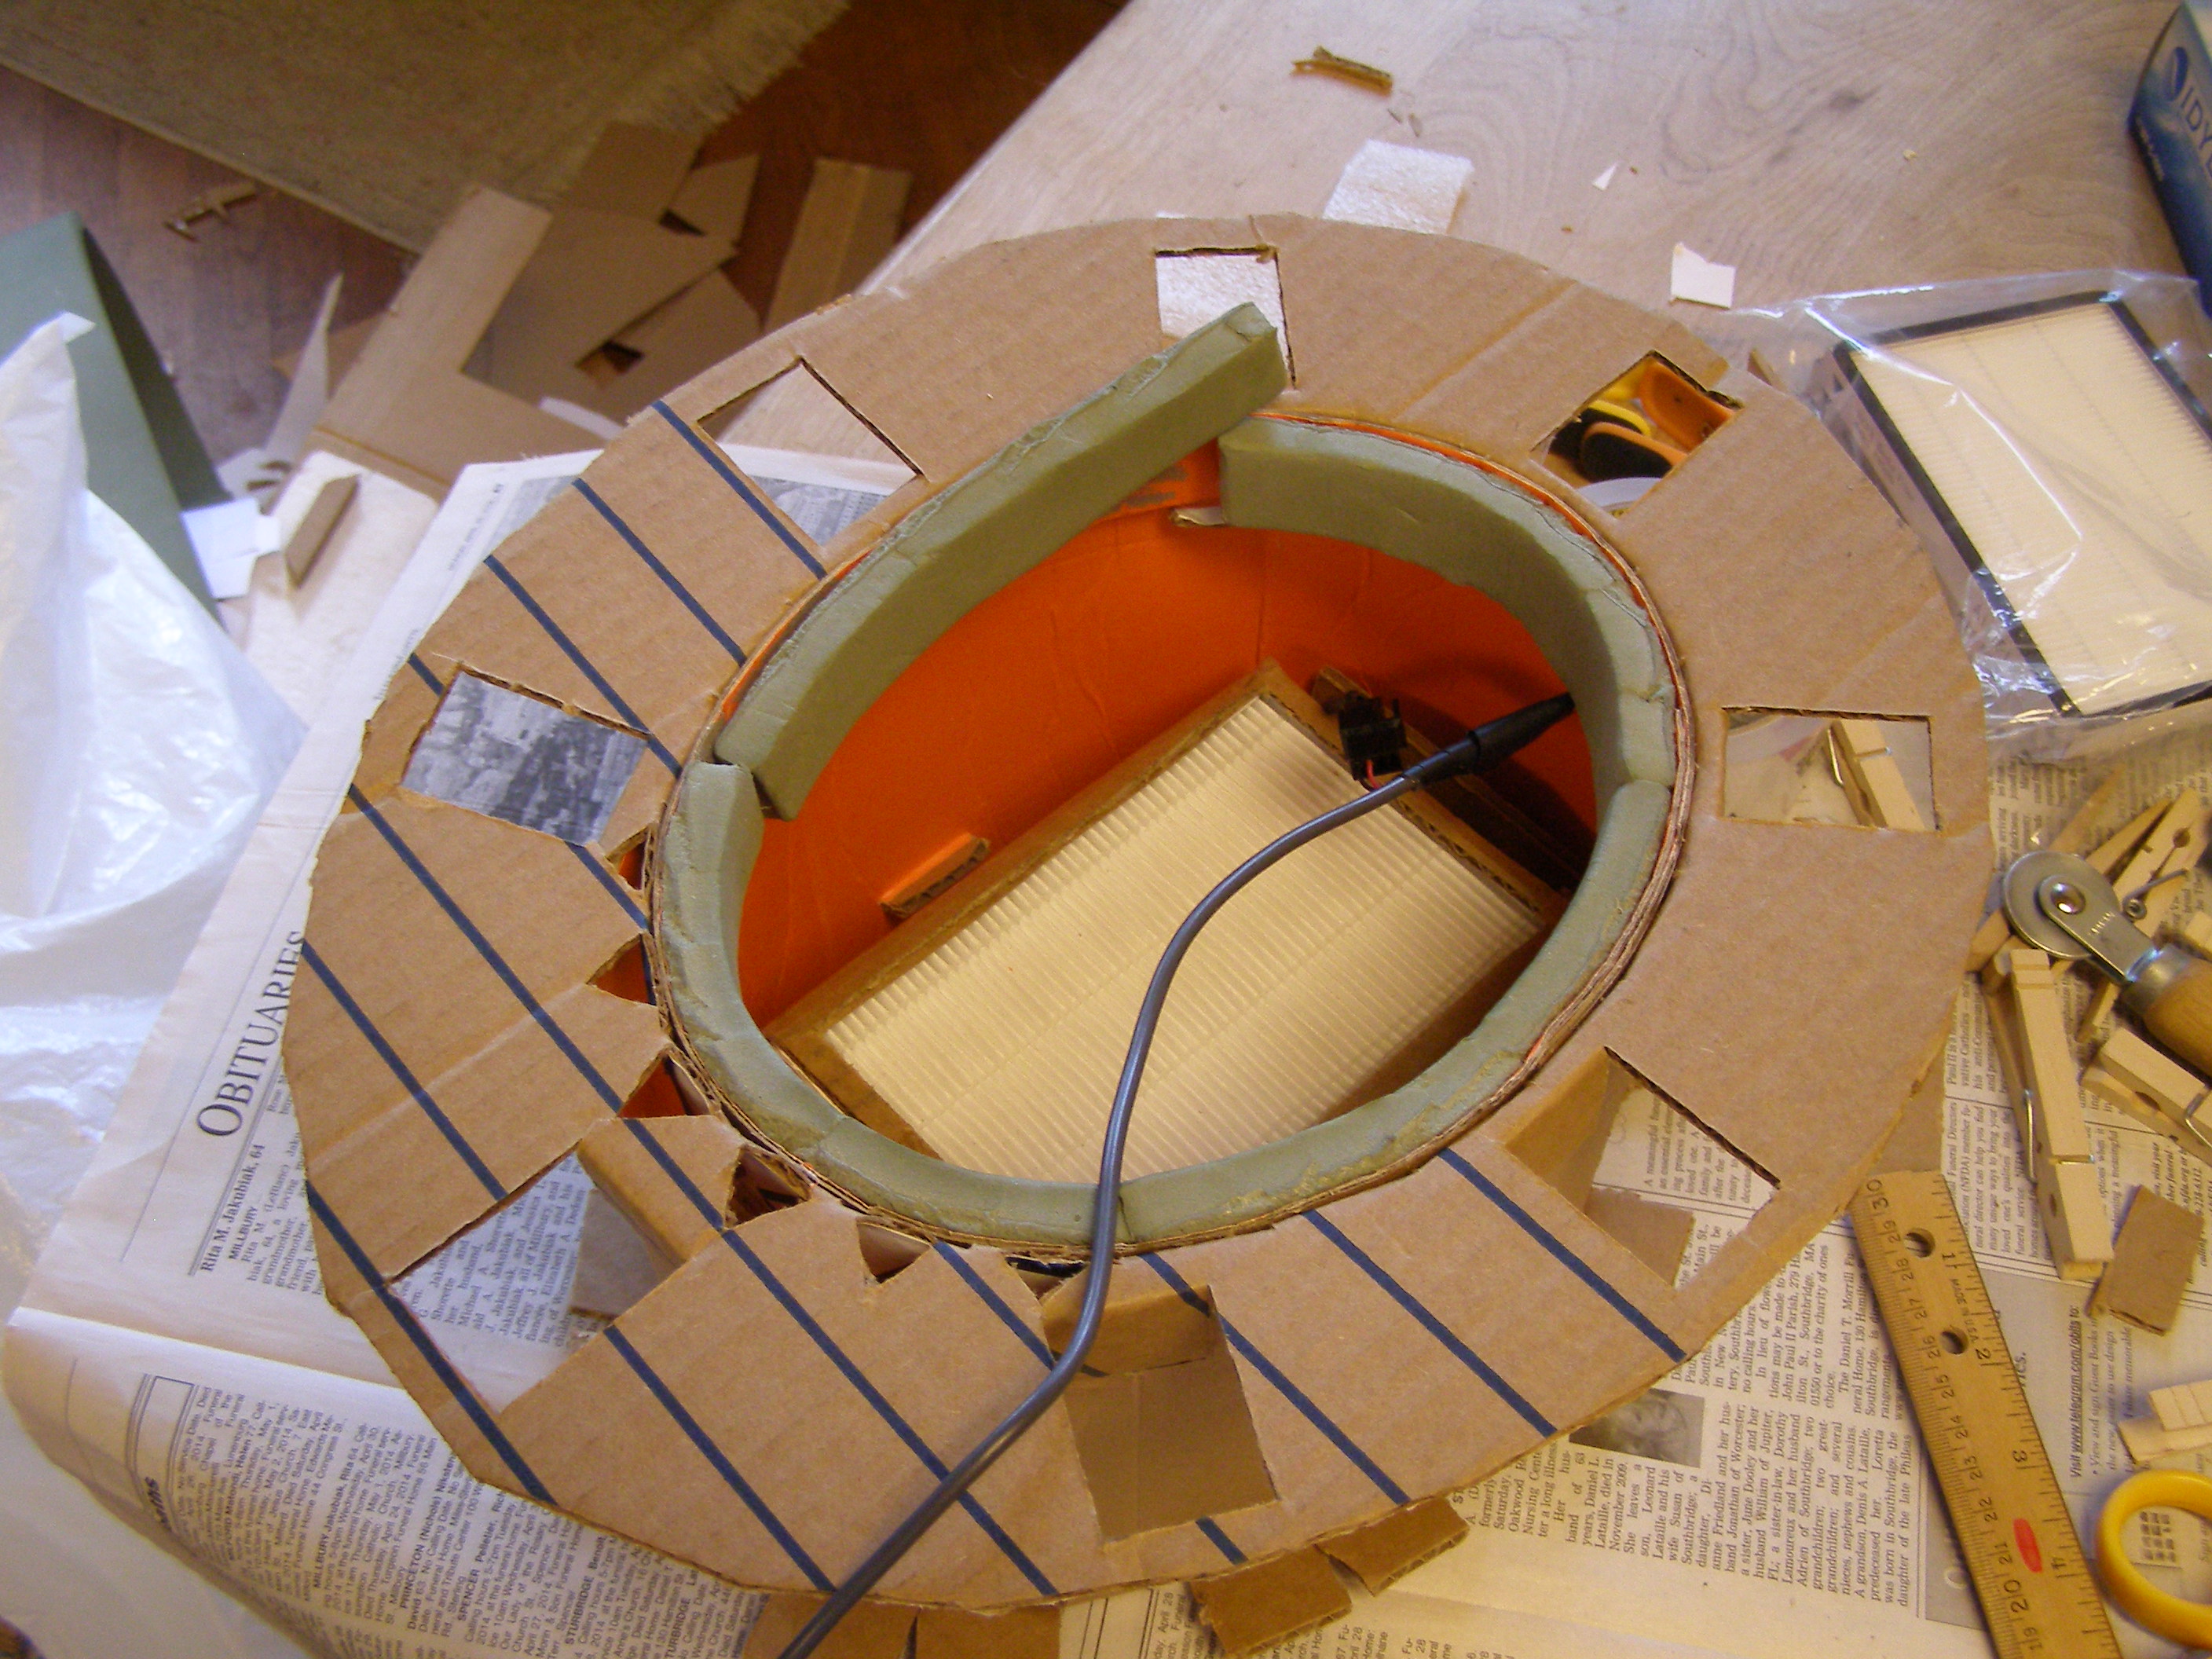
Not only that, but even though I specifically remember measuring the hat's wall to 7 inches tall, I somehow ended up cutting it to 6 inches. So there was only barely enough room for both my head and the air purifier box.
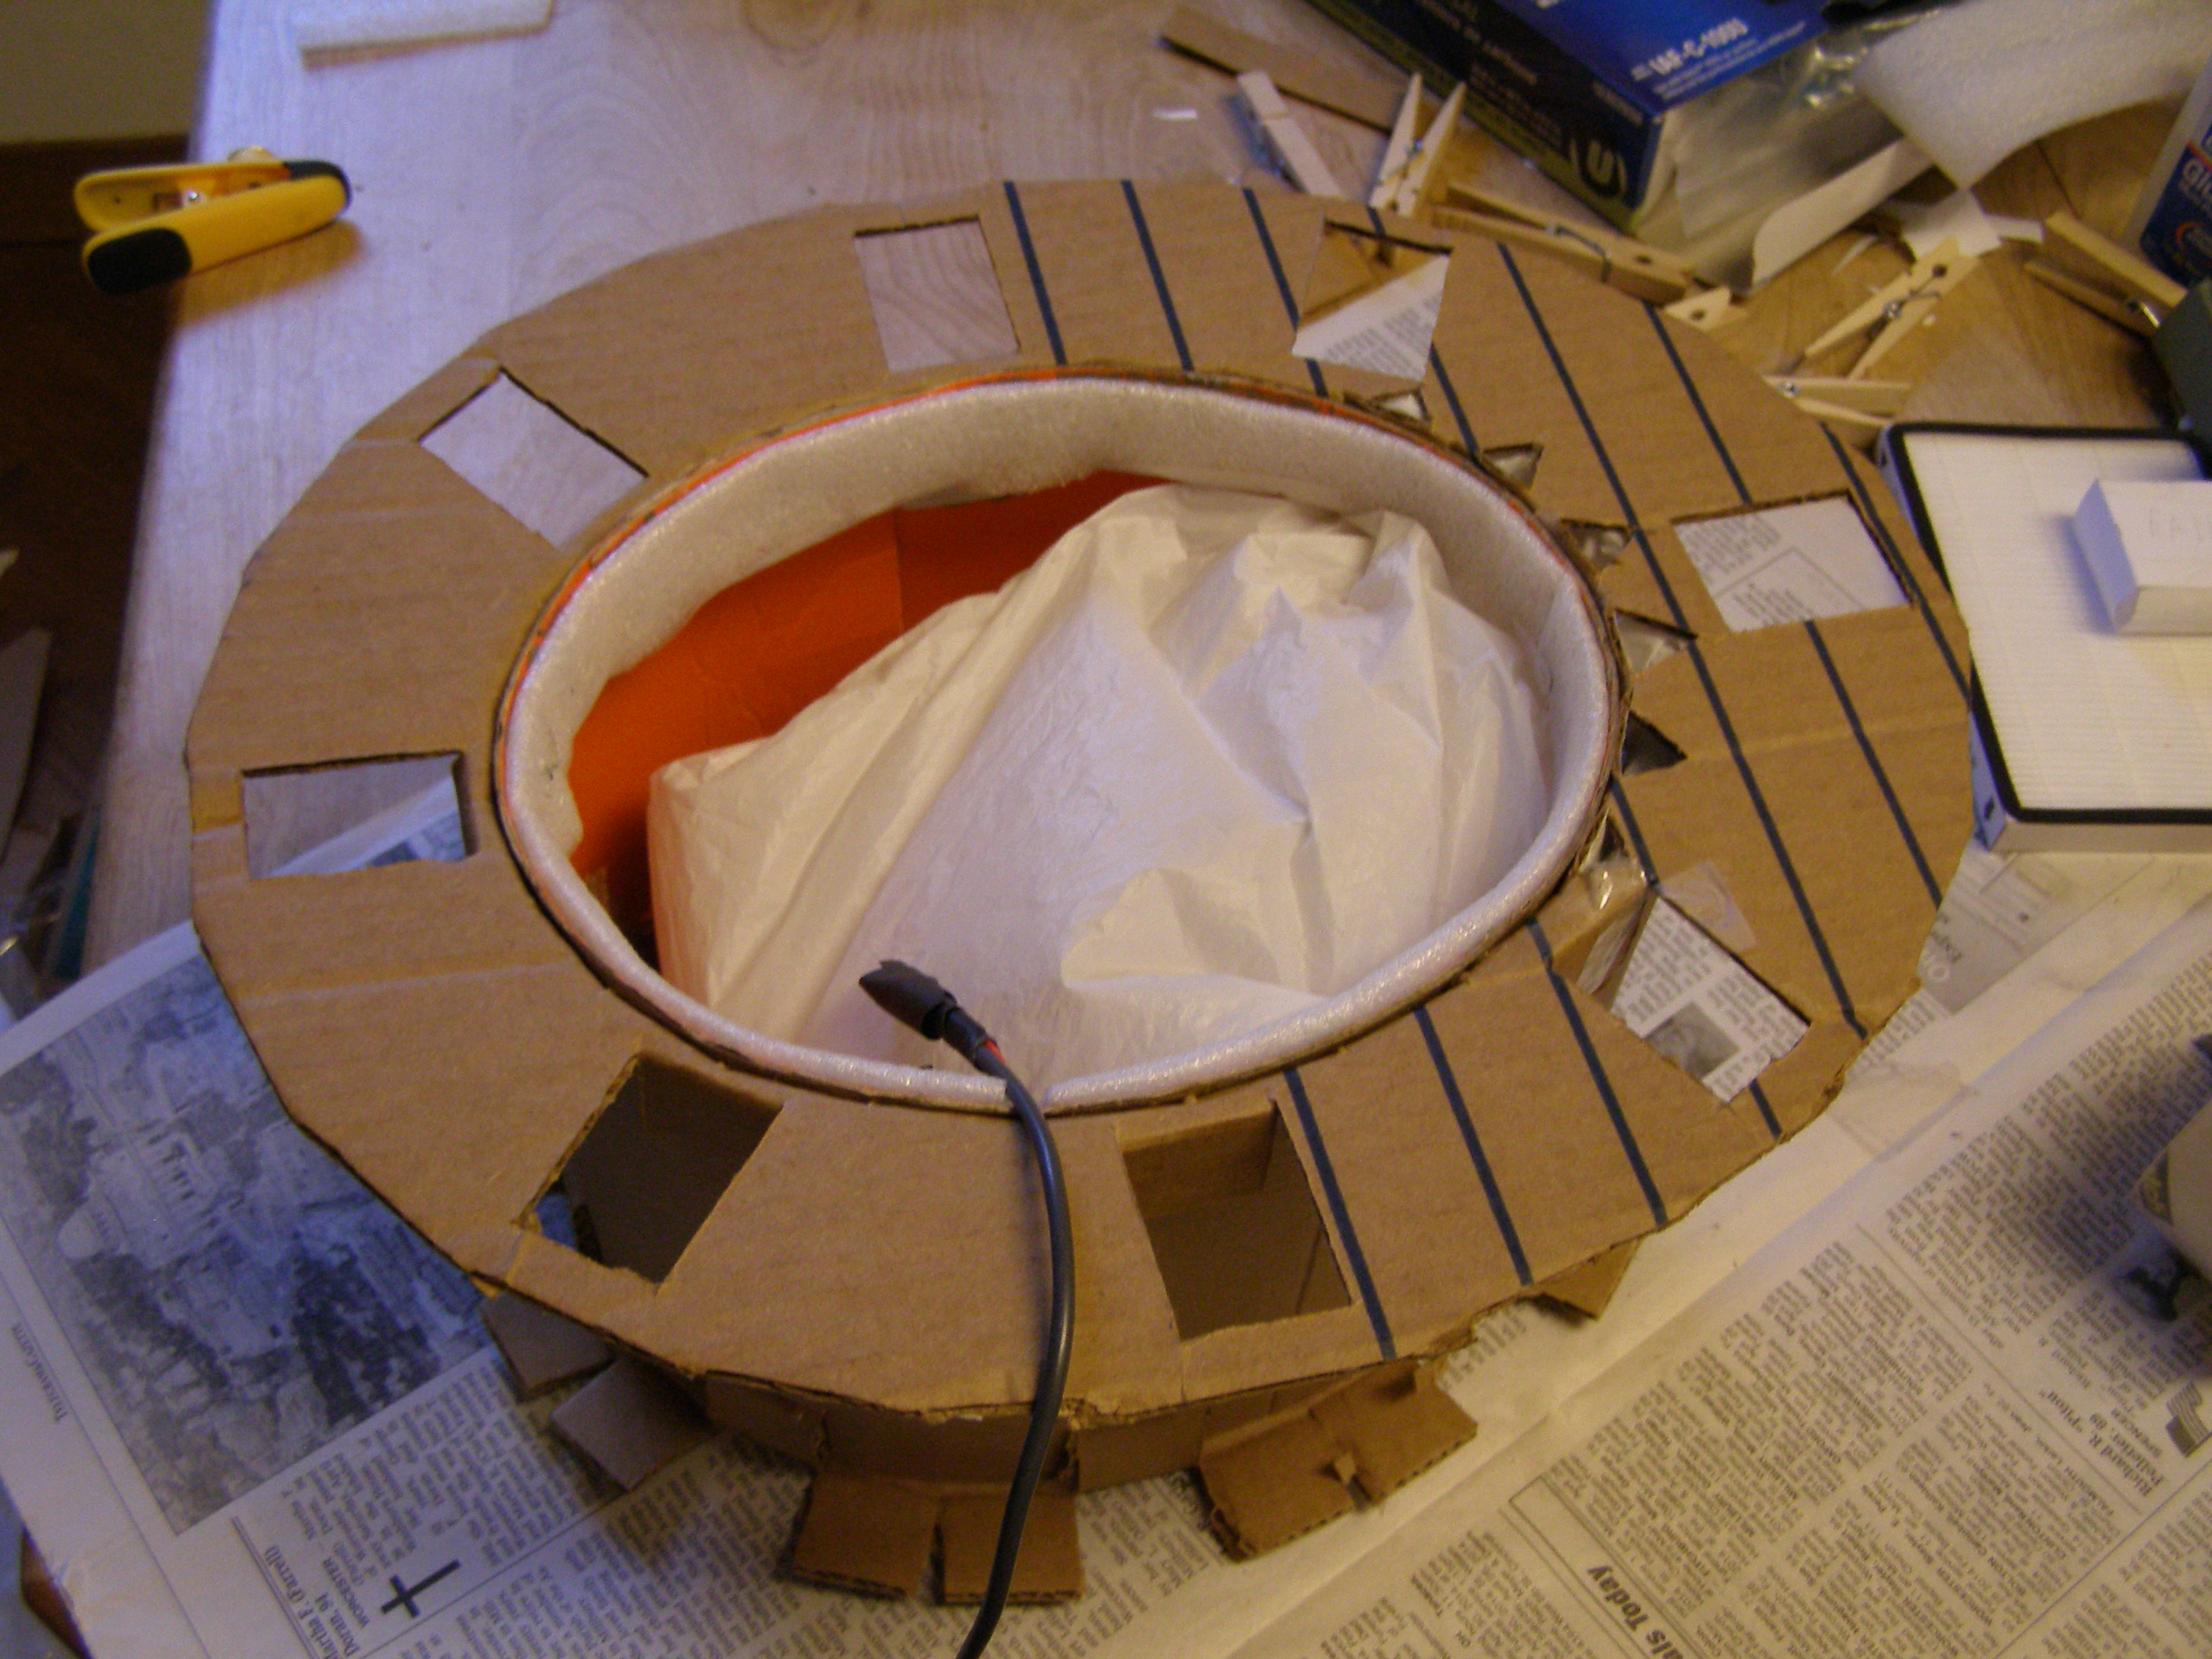
But the main problem was that it just didn't seal well. Most of the filtered air ended up escaping through the corners of the hat, rather than going through the triangular air holes like I wanted. This wasn't unexpected, so I had planned to seal it by putting a layer of thin foam at the joints. The idea was that the cardboard would press into the foam, forming a pretty good seal. But in practice, the edges were too irregular, my cuts weren't exact enough, and the tab-in-slot design wasn't strong enough to press the cardboard into the foam anyway. And the air-purifier box's slot for the HEPA filter didn't have a good enough grip either, allowing unfiltered air to pass through.
I ended up trying to direct the air using a plastic bag, then building a differently-shaped air-purifier box.
But neither of them was a magic solution. And then the USB cord stopped working again, and I had to rewire it again again. And then I ran into the limits of what my thumbs were up to, and took a break for a few days.
Since then, I've had some more design ideas that might work better. I'll get back to this project at some point, but for the meantime, I've been focusing on other projects instead.
– Eli
Approximate readability: 4.61 (4347 characters, 1082 words, 76 sentences, 4.02 characters per word, 14.24 words per sentence)